Spiritual Stone of Fire - Goron City and the Lost Woods Walkthrough - The Legend of Zelda: Ocarina of Time Remake Guide - IGN
Welcome to IGN's Guide to The Legend of Zelda: Ocarina of Time Remake. After 28 years, Ocarina of Time has been fully remade, and while much of it remains
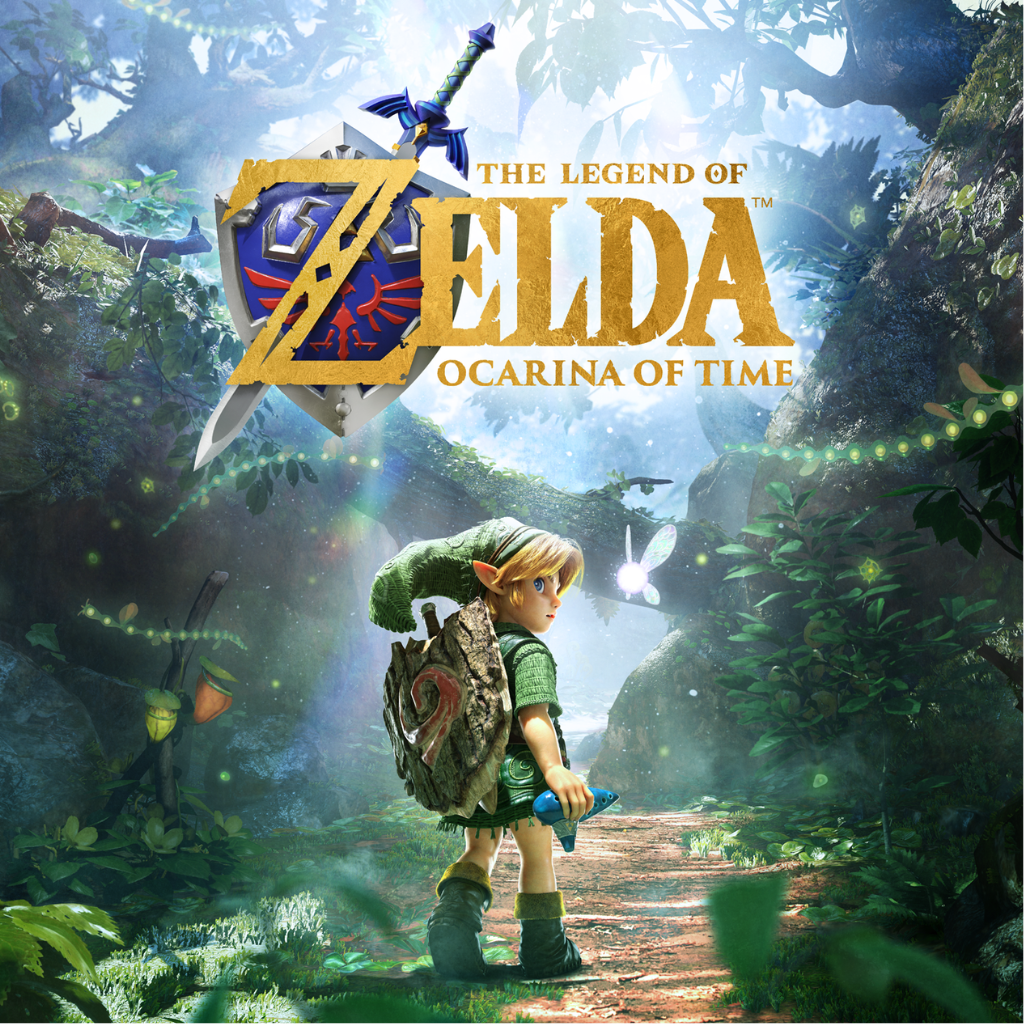
Welcome to IGN's Guide to The Legend of Zelda: Ocarina of Time Remake. After 28 years, Ocarina of Time has been fully remade, and while much of it remains the same, there's plenty of new differences to be found while exploring Hyrule. After finally meeting Princess Zelda of Hyrule, Link has been enlisted to track down the remaining Spiritual Stones, starting with the Spiritual Stone of Fire held by the Gorons of Death Mountain.
Now that you've unlocked the gate to Death Mountain, it's time to undertake a dangerous trek up the mountain to meet the Gorons who live in the mountain. However, don't expect to gain their most prized possession so easily, and you may find your journey will soon lead you back to the Lost Woods in search of a dear friend.
Entering the harsh trail up Death Mountain, you'll need to be prepared to face new threats, and having the Hylian Shield equipped is a must. Though it's harder to wield, and requires you to stop moving to use if effectively, it allows Link to "turtle up" and hunker down to block all threats - even fiery ones!
Your first such threat is an enemy called a Red Tektite. These spider-like creatures jump high in an attempt to pounce on prey, but will bounce off your shield, allowing you to retaliate with a few quick stabs.
Defeat the other Red Tektites in the area to climb up a mesh wall to a higher ledge. Here you'll find a large blocked cave, and a curious balled up creature. This is a Goron, and he's pretty friendly (and also hungry). You can ask him about a few things, and he'll explain that their food source in Dodongo Cavern nearby has now been sealed up and point you further up the mountain path to where his friends are.
Continue your climb, and watch out for a rolling Goron (he can't actually hurt you, but can knock you down!). Further past him is a trail leading to the top of the mountain that's blocked off by large rocks, so instead take a sharp left for a tunnel path leading toward Goron City.
Near the entrance, you can find a Goron overlooking a strange looking plant. It's called a Bomb Flower, and as it name implies, it will explode shortly after being picked up. Unfortunately, your child limbs lack the strength to pick it up right now, so continue on into the city itself.
Note that there's a small alcove to the right of the city entrance with another of those strange plants with curved leaves. Nearby, you can find a Fairy Writing that indicates strong weather may cause the leaves to spin. Sounds like a clue worth remembering!
The City of Gorons is a large underground region comprised of several descending tiers around a large recessed pit in the middle of the city. The Chieftain of the Gorons dwells at the very bottom, and high above you can spot a series of rope bridges leading to some sort of altar.
Make your way over to the altar by heading right and then crossing the bridges to talk to the Goron here, who was apparently looking for a "tasty red stone" but Boss Darunia probably took it, and has holed himself up in his quarters. Sounds like a Spiritual Stone!
You won't be able to access much of the city due to the large rocks in the way, so head down to the lower level, past a rolling Goron who doesn't want to stop (and you lack the tools to make him), and down one more level to where a Goron is wisftully listening to some familiar music through a crack in the wall.
On the other side of this level is a pathway down to a spot you can rest at, and a Goron who can't believe you're from a place with lots of greenery. The only green things he's seen are Bomb Flowers and Deku Sticks, which are rare as they use them to light bomb flowers. It's worth stockpiling them, and if you're running low, check the pots next to him for a stick you should hang onto.
Continue on to the bottom floor where a giant Goron-shaped pot, and just beyond it are two sealed rooms - one covered in bomb flowers, and the other bearing the Triforce on a mat. Since you're technically a messenger of the Royal Family, announce yourself by playing Zelda's Lullaby, and you'll be granted access to speak with the "Boss", Darunia.
The bad news is Darunia is in a terrible mood: An ancient beast is loose in Dodongo Cavern, halting the harvest of both bomb flowers and their food supply. If you want answers, you're going to need to improve Darunia's disposition.
Stepping back outside his room, talk to the nearby Goron, who mentions that Big Bro has a favorite song that might improve his mood. However, his singing is... not easy to follow. You'll need a better source to follow along with on your Ocarina, and luckily, you've already heard the music coming from nearby.
Even if you couldn't convince Darunia, you did gain access to the two torches in his room, which means you can transfer that fire elsewhere with a Deku Stick if you're quick enough. Start by lighting a Deku Stick and running into the next room to light up a Bomb Flower next to the sealed up door. It will explode, revealing a Goron Shop for you to browse.
Unfortunately, most of what this Goron sells can't be used yet, including a heaping helping of bombs, and an adult-sized Goron Tunic. Next, take the lit Deku Stick from Darunia's chambers and make a lap around the giant Goron-shaped pot, lighting all four torches here before putting your Deku Stick away so it doesn't burn. This will also set the pot spinning, which you can interact with later.
Finally, light up your Deku Stick using the torches around the pot and up to the next level. Head toward the large cracked wall where the music is coming from and light the bomb flowers with your Deku Stick. This will blast open a secret shortcut leading back into the depths of Kokiri Forest...
Entering a mystical forest, you'll meet up with Kaepora Gaebora again, who will clue you in about the origins of the song that seems to float through these woods. You'll find the source at the Sacred Grove, but it's easy to lose your way in these woods.
The trick to navigating this maze of a forest is the music. When you approach any darkened tunnel entrance, listen carefully: If the music fades away, you'll have chosen wrong, and continuing will just send you back to the start. If the music continues softly, you're on the right track (you'll also see musical notes play as you head through the tunnel). Take a wrong turn, and you'll find yourself back in Kokiri Woods!
There's also a good amount of secrets to uncover, but for now, you'll want to reach the Sacred Grove first. From the Goron City shortcut, head left (East), then left again when you reach the area with the pool of water.
Continue straight through the next 4-way intersection to reach an area with a single boulder, and head left, and then take a right at the next area with another single boulder, and you'll have arrived at your destination.
The dense forest has now opened up into a large open grove, but there's still more twists and turns left to take. Before you can truly enter the grove, you'll need to defeat its guardian: A Wolfos.
These powerful monsters will fight shrewdly and evasively, preferring to strafe around you and find an opening. When they dash forward, the Wolfos will slash twice with its claws. If you hunker down and shield the blow, it will bounce back momentarily before trying again, buts its claws also give it a lot of protection.
Instead, wait for it to begin its two-hit lunge and backflip away. After its second swipe, it will overswing and reveal its back, which has a scarred weak point you can strike at with a jump attack! Keep up these counterattacks to defeat this foe, and the gate will open.
The next part of the grove is a maze of zig-zagging passages, guarded by Mad Scrubs. These Deku Scrubs are more aggressive, shooting a salvo of three Deku Nuts at a time. You can still block the nuts by shielding up, and the third nut will bounce back into it, causing it to flee a short distance.
Take out the scrubs as you proceed along the route and around a large square area with watery holes in the corners to reach a final narrow path to the end of the grove. More Scrubs are here, but you can snipe them at a distance with your Slingshot to send them running.
At the top of the stairs, you'll finally find the source of the music: your friend Saria. She's happy to see you, and even though your journey means you can't come home yet, she's found a way to communicate with you by playing her special song, which you can now follow along on your Ocarina:
Follow the prompts to learn Saria's Song, which marks you a friend of the forest, and can make even the grumpiest of Gorons dance with delight. It will also allow you to talk to Saria no matter where you are, and she may have advice or tips to give you depending on your location when you call for her using the song.
It's time to head back, and as you head back down the stairs, note the opening in the large walls at the base to find a hole in the ground you can drop into. This leads to a Fairy Fountain, which you can interact with to fully heal yourself, or catch one in a bottle. If you fall in battle that Fairy will restore some of your hearts so you can keep fighting!
Once you're back in the Lost Woods, it's time to see what the rest of the maze has to offer. Start by taking an intentional wrong turn into Kokiri Forest.
Look around the back of the Kokiri Shop, and you should be able to spot a patch of soft soil. Plant a bug in it, and a Gold Skulltula will jump out for you to slay.
Use the Sun's Song to make sure it's nightfall in the forest, and then check around the back of the Home of the Know-It-All Brothers by the Training Grounds. It's here you'll find a new Skulltulla hiding along the treehouse wall.
Now, head back into the Lost Woods, and from the starting point, take a left. This leads to a small grove with a friendly Skull Kid playing on his flute. Step onto the smaller trunk, and play Saria's Song with him. Any friend of Saria's is a friend of him, and he'll reward this new bond with a new Piece of Heart for you!
While you're here in front of the Skull Kid, you should try wearing the Skull Mask that the Happy Mask Salesman rents out after selling the Keaton Mask. The Skull Kid will take an immediate liking to the mask, and offer to buy it from you. Unfortunately, he'll only pay to 10 Rupees, which means you'll have to eat the full cost when paying the Happy Mask Salesman back (You may also want to hang onto the mask for a bit first until you find the Forest Stage in the Lost Woods).
From this grove with the solitary Skull Kid, be sure to move south through a nearby tunnel. It will take you to a high ledge overlooking the bridge leading out of Kokiri Forest, and you can find some soft soil here. Drop another bug in if you have one, and out will pop another Gold Skulltulla to defeat.
Be sure to drop down into the ravine below the bridge, and run over to the far side. There's a new type of Deku here, a Business Scrub. They act much like Deku Scrubs, but when defeated, they'll be bullied into selling you wares they have procured. This particular Business Scrub has a Bigger Deku-Stick Bag that he will sell you for 40 Ruppes, allowing you to carry a maximum of 20 from now on, and you should take the deal!
Return to the Lost Woods entrance, and this time follow the music right to the east. This next area has a lower pathway, but before jumping down, look for a large target carved out of a tree ring. Stand on the nearby trunk, and hit the exact center of the target three times. If succesful, a Deku Scrub will congratulate you, and spit the Biggest Deku-Seed Bag at you, giving you a maximum of 50 shots!
Now, jump down to the bottom where two more Skull Kids are playing their instruments on large tree trunks. Join with them using your Ocarina, and they'll start a game of "follow the tune". You'll need to repeat a randomized tune of notes that build from 3-5, and if you can follow along, they'll pass you a Blue Rupee.
Try it again, and this time you'll have to follow the notes that build from 4-6. If you're having trouble as they hide which notes you need to memorize, look for the placement on the prompt to clue you in on which notes you need to remember. Complete this task, and you'll earn a Red Rupee worth 20.
Play their game one last time for a super hard version of following notes that build from 6 to 8. If you can keep following along, you'll earn the ultimate prize: a new Piece of Heart!
Finally take the path north to where the shortcut to Goron City is. This time, head right to the pool of water, then left going north, and take another left. This will lead you to a smaller meadow teeming with several Business Scrubs. Block their attacks to make them docile, and you can browse their normal wares.
The more important points of interest lie near the back of the grove by the bushes. On the side near a large tree is some soft soil, which you can again drop a Bug into (one of the scrubs actually sells Bugs!) to reveal the last Gold Skulltula that you can get for now in this area.
There's also a hole hidden in the bushes you can drop down, revealing an underground Forest Stage. By standing on the platform and wearing a mask, a group of Deku Scrubs will judge your appearance and give you random rewards... or attack you. However, if you wear that Skull Mask again (if you sold it to the Skull Kid you can always rent it again), a larger Scrub will emerge to award you the Biggest Deku-Stick Bag!
With all your tasks completed in the woods, return to the shortcut back to Goron City.
You can now return to Darunia and play him the song of your people: Saria's Song. The mood to dance will overtake the Big Boss of the Gorons, and put on a mighty display of getting down to the beat. Once he's finished, he'll finally be ready to hear you out, and though he's not willing to give away the Spiritual Stone of Fire for free, he will reward you for helping him clear out Dodongo's Cavern of its monster infestation.
To help you in this matter, he'll give you a special gift: The Goron Bracelet. With this, you'll be able to harvest Bomb Flowers yourself and use them to blow up cracked stones that may be blocking your way!
The few Bomb Flowers left in Goron City aren't enough to really make use of, but you can test it out on the top ring of the city, to the east of the entrance. Look for a large cracked wall next to some Bomb Flowers, and pick up then toss them with R and stand clear as the detonate. You'll have to toss them at a few cracked walls to open up a path to a very large Medigoron. He's working on a special weapon, but it'll take a few years to finish...
Now, Exit Goron City back onto the Death Mountain Trail. Head over to the Goron babysitting the lone Bomb Flower, and try grabbing it. You can then toss it over the ledge and down toward the large cracked boulder blocking the entrance to Dodongo Cavern, which will explode to reveal its entrance!
Before heading in, note the patch of soft soil just inside the tunnel, and drop a Bug inside to scare out a Gold Skulltula that you can defeat for a token.
With the way clear, it's time to earn the Spiritual Stone of Fire by delving into the depths of Dodongo Cavern.
Up Next: Dodongo Cavern Dungeon Walkthrough
Topics in this story
Gathered from external sources. Rights to this text belong to whoever originally published it.