The Princess of Hyrule Walkthrough - The Legend of Zelda: Ocarina of Time Remake Guide - IGN
Welcome to IGN's Guide to The Legend of Zelda: Ocarina of Time Remake. After 28 years, Ocarina of Time has been fully remade, and while much of it remains
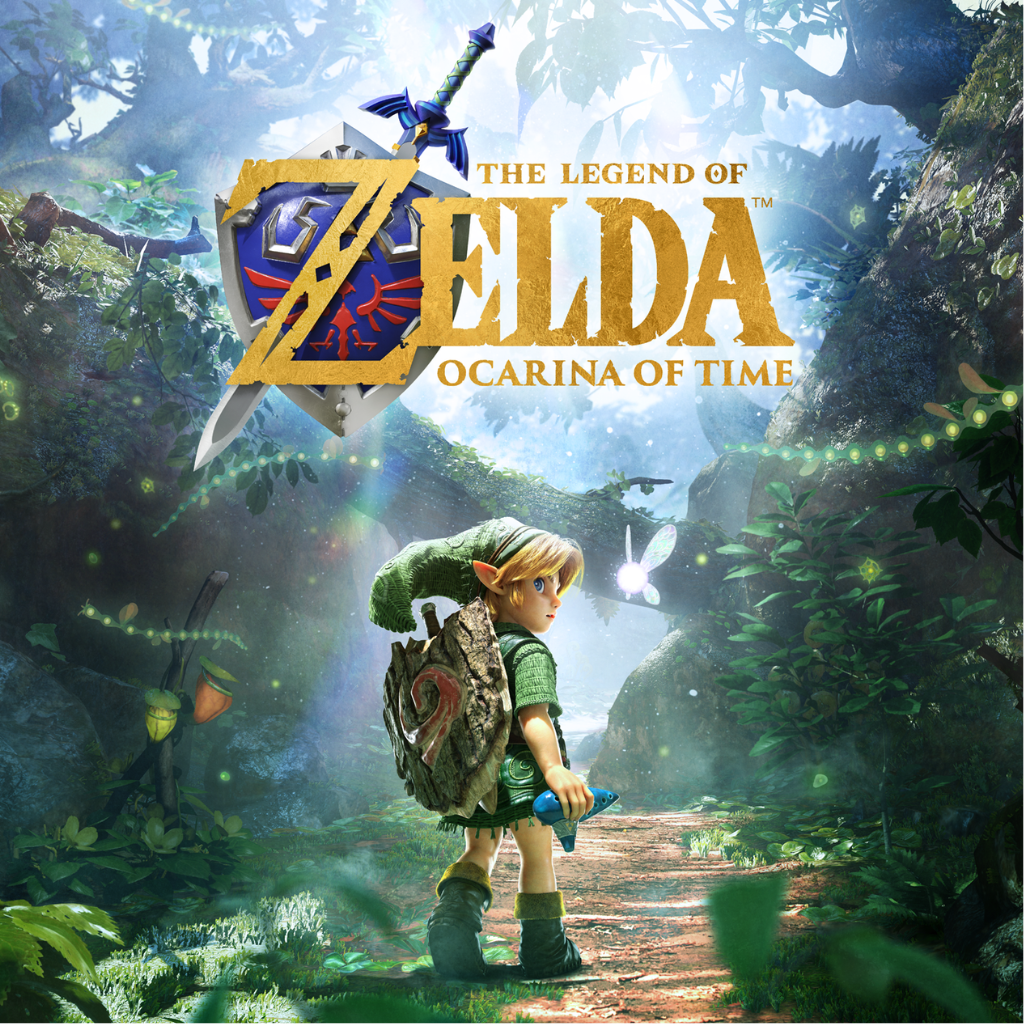
Welcome to IGN's Guide to The Legend of Zelda: Ocarina of Time Remake. After 28 years, Ocarina of Time has been fully remade, and while much of it remains the same, there's plenty of new differences to be found while exploring Hyrule. Link has banished the evil beneath the Great Deku Tree and claimed the Spiritual Stone of the Forest, and destiny now calls him to leave the forest behind and seek out the Princess of Hyrule Castle.
Leaving the relative safety of the Kokiri Forest behind, Link has one last meeting with his childhood friend, Saria, who bestows upon him a Fairy Ocarina. You can play some tunes with it by pressing Left on the D-Pad, using the L, R, Y, X, and A buttons!
As you exit the forest and head up a wooded path, you'll come upon a vista overlooking the majestic Hyrule Field. This large expanse of land connects almost all of Hyrule's major regions, and though the region itself doesn't have too many points of interest, it does hold its share of creatures and secrets.
Before you can take your first steps, a strange and large talking owl named Kaepora Gaebora will swoop in above you, offering his counsel. He'll point out a small road leading northwest toward the distant Hyrule Castle, and the Castle Town situated on the other side of a small moat that you'll need to travel through to reach it. He'll also point out that you can reflect on your adventure by checking the Threads of Time. You can think of it as a sort of Quest Log that lists all active or completed quests - both major and minor, and a tapestry that fills itself out as you complete them. If you're ever unsure what to do next or what sidequests you can explore, be sure to check it out!
Note that unlike the original Ocarina of Time, time will not initially pass for your first journey through Hyrule Field, nor will the drawbridge leading to Hyrule Castle Town close. You're free to explore as much as you want without worry of day turning to night until after you have met the Princess.
While there's not a whole lot to do in Hyrule Field at the moment, there is something worth collecting early. As you start heading down the dirt path from the forest entrance, look for a lone and tall narrow tree perched on a hilltop to the west, overlooking a large ranch in the distance.
Cross the small stream to reach it, and then roll into the tree. Such narrow trees like this one often have items that can fall down from above (unlike larger gnarled trees), and this one in particular hides a Gold Skulltula to add its token to your collection!
While you're out here, you can also check out the large Lake Hylia to the south, or the desert entrance to Gerudo Valley further west, where Kaepora Gaebora will be stationed to give you some tips on the land (and nudge you back toward the castle). If you'd rather save those areas for later (which you probably should), take the main dirt path the owl showed you to head north to the castle. Along the way, you'll start running into creatures called Peahats. They float around and spin toward you with sharp leafy blades, but you can deflect them with your shield and then finish them off when they are stunned. If you want
Upon following the path to the north and reaching the castle town's moat, you can cross the imposing drawbridge and enter the town.
This bustling market town is nestled at the foot of the castle in the hills above, and is home to all manner of townsfolk and merchant shops. There's plenty to see and do here, so be sure to stop and talk to everyone to learn more about this strange new place.
Start by taking an immediate right into a room by the castle town gate, and you'll find an armory room littered with pots and crates, and one very bored guardsman. Liven things up by going to town and breaking all the pots you can -- trust us, he won't mind -- and you can stand to earn around 20 Rupees for doing so!
On top of that, you can also roll into the large crates by the guard at the far end of the room to find one is hiding a Gold Skultulla, which you can kill and claim its token.
Exit the armory and head down to the road to the main market plaza around a large fountain. There's a lot to take in here, so be sure to explore as much as you want. Note the two laughing men conversing by the fountain -- they will mention that one of them wanted to see the Princess and ended up getting stuck in a drainpipe, which sounds useful for our own goal of meeting the Princess.
Among the major points of interest here are an assortment of shops (though not all are up and running currently):
To the east is a Bazaar that sells a variety of goods, including a large Hylian Shield that can't be burned up by fire, but it is quite pricey (and there are other means of getting one).
Next to the Bazaar is the Potions Shop, and an old man out front will warn you that there's apparently a ruckus going on inside. Heading in, the shopkeeper will plead with you to help catch a wayward bug, and even give you your first Empty Bottle for free to do so! Simply equip it and press ZR when standing near the golden beetle to capture it. The shopkeeper will be so overjoyed, he'll fill your new bottle with a Red Potion that recovers all hearts! On top of this, the Potion Shop also sells all sorts of bottled goods should you have an empty bottle in need of refilling.
Just past the Potion Shop is a strange "Happy Mask Shop" that's not currently open for business, and a pathway leads up toward the fabeled Temple of Time. This large cathedral holds the secret entrance to the Sacred Realm, but you'll need all of the Sacred Stones first.
On the other side of the plaza across from the Happy Mask Shop, there's a Shooting Gallery you can partake in. For the cost of 10 Ruppees, you can try your luck at shooting all 10 targets using only 15 seeds with your Slingshot. Even if you only hit 8-9 targets, you'll get a free retry! Score a perfect 10, and you'll unlock a Bigger Deku-Seed Bag, increasing your ammo count to 40! You can also enroll in an Expert Course afterward, and can shoot for another perfect score to earn 30 Rupees each time.
The other shops along the east side and alleyway, the Bombchu Bowling Alley, Bombchu Shop, and Treasure Chest Shop are all closed for the time being. You can also find a man asking to buy bottled items from you, which include Bugs and Fish for a modest price.
Head up the main road up the hill toward the castle to continue on your way.
Arriving up at the entrance to Hyrule Castle, you'll again run into Kaepora Gaebora, who urges caution, as the castle guards likely won't just let you stroll in.
Sure enough, the main gate ahead is sealed, and the guard on duty will have none of your shenanigans and shoo you off.
Look on the right side of the road for a horse-drawn milk cart, and you'll find a young girl named Malon waiting nearby. Her father, Talon, owns Lon Lon Ranch, and apparently he's been out on delivery for some time, but has likely fallen asleep. Agree to help find him, and Malon will give you an item essential to waking Talon from his deep slumber: a Weird Egg.
Once you have the egg, look on the other side of a small water drain past the milk cart for bright green vines you can climb up onto a high ledge. Up here you'll find a strange stone that looks like an eye that will yelp the current time if you strike it, but it may hold other mysteries...
Follow the path up to another set of vines that allow you to climb up on top of the gatehouse. Move across the top and take a good look at the front gardens ahead of you. There are several soldiers stationed here, and while they don't move, they'll order you to halt and throw you out if you wander into their line of sight.
To avoid these guards, you can either risk jumping over the iron fence and behind the bushes before the closest guard spots you, or take a safe path up the main road, and then lean into the purple flowers to veer left before the road curves to avoid the guard.
From here, dart between the hedges by taking the middle path, and then hang around the outside to climb up the western wall to bypass the large locked gate.
Before climbing up the vines, look for a small enclosed area to the right with some barrels and sacks, and a lone tall and narrow tree. Roll into it, and you'll dislodge a Gold Skulltula from its hiding place!
Climb up the vines and head past another Sheikah Stone to reach the castle's main moat. There are two guards posted outside, but you can easily bypass them by jumping into the moat and swimming toward the tree on the far side. Note that the tree has a strange plant growing near it that you can't interact with yet, but it's worth remembering!
Just up the path from the moat is the sleeping form of Talon, owner of Lon Lon Ranch. By now, your Weird Egg should have hatched into a Wake-Up Cucco, so give it a test drive by presenting it to the sleeping man by pressing ZR when it's equipped.
Talon will jolt awake and introduce himself. Realizing he's left Malon all alone, he'll bolt for the exit, leaving behind his large milk crates.
If you remember what the two laughing men were talking about in the town, they mentioned getting stuck in a drainpipe -- the same one that's located right where Talon was sleeping. However, the leap to reach it is just a bit too high.
To solve this puzzle, start pulling the two milk crates over to where Talon slept, you can then push them one after the other of the ledge and into the recess below, with the second crate standing on top of the first, and giving you extra height to make the jump! Crawl through and head on into the castle grounds.
This next area is a more confined stealth section, in which you'll need to dodge more guards to reach the area that the Princess is in. If you get caught here, you'll automatically escape back to the drain entrance, so you don't have to worry about infiltrating the entire castle area all over again.
Climb up the ladder to get a vantage point for the first area, a fairly simple one. There's a lone guard watching the path through this area under a large gazebo. Luckily, some crates have been stacked on one side of the gazebo, which you can climb up and then carefully cross over the beam to the other side over his head.
Head up the stairs to overlook the next area: Two large hedges with two guards that patrol between them. Each will alternate moving from left to right, but won't fully walk to the right edge of the hedge. Use that to your advantage by waiting for the closest soldier to turn his back and then run up to the right side of the hedge and hide yourself in it, out of their line of sight.
Make sure the second guard has started moving back to the left before darting to the second hedge, and then onward to the final area.
Note that if you get close to their line of sight, the guards may pause to look in your direction. This can interrupt their normal patrol pattern, so make note of these delays when moving around them.
Entering a cellar area, you'll be atop an enclosed space with two large shelving area, and two more guards patrolling around them. This time, one guard will move in a counter-clockwise square route along the outside of the shelves, while the other stationary guard between the two shelves will alternate looking in both directions.
Wait until the soldiers has passed by the stairs leading down and turned away from you to quickly head down. You can either play fast and risky by heading up the left side -- pausing to wait for the middle guard to look to the right -- and beat the other patrolling soldier before he rounds the corner, or take things slow by following the moving guard at a distance to ensure he doesn't spot you, lagging behind his position a bit.
However you bypass the pair, you can run out the far door and hang a left to find the gardens where your objective lies.
On the other side of a beautiful courtyard garden, a young girl is peering through a window. As you approach, the girl will recognize that you have a fairy, and properly introduce herself as Princess Zelda of Hyrule.
After confirming that you indeed carry the Spiritual Stone of the Forest, you'll find that you're not the only with strange dreams. Princess Zelda appears to have the gift of prophecy, and has dreamed of a great calamity befalling Hyrule. The savior of this darkness appears from the light, carrying the Spiritual Stone and accompanied by a fairy.
Princess Zelda will tell more of the story of the Goddesses, the Sacred Realm, and of the Triforce, adding that the Temple of Time was built to guard the Sacred Realm, and can only be opened with the Spiritual Stones of the Forest, of Fire, and of Water. With each of these, the final key lies in the royal family heirloom, the Ocarina of Time!
Your task is to track down these remaining stones, and do so before evil forces can get ahold of them. That evil force happens to be what Zelda was spying on: Ganondorf, the King of the Gerudo Tribe hailing from the desert to the west.
In order to help you on your quest, the Princess will give you a new Key Item: Zelda's Letter, which should hopefully open up some pathways that would normally be closed to you.
After finishing your conversation with the Princess, she'll summon her attendant, a member of the Sheikah named Impa, to help you leave the castle.
Before you go, have you looked into the other windows of this courtyard? In the original game, you could sneak a peek of some famous Mario characters. Now however, you can find a large tapestry adorning the wall in the distance. Look closely, and you might recognize the Threads of Time! Spoiler Alert...
When you're ready to depart, speak to Impa, who has a gift for you. It is a song passed down the royal family, which also happens to serve as Zelda's Lullaby. Play it, and you will prove yourself to all within earshot that you are a messenger of the Royal Family:
Complete the prompt, and you'll officially learn Zelda's Lullaby, which will be added to your list of songs that you can review the notes of. You can also change the settings to play ocarina songs by humming or using musical instruments, which the Switch 2's built-in microphone will detect!
Leaving the castle behind, Impa will point you toward the imposing Death Mountain, where a race of beings called the Gorons guard the Spiritual Stone of Fire. At the mountain's base is Kakariko Village, and it's there you'll need to travel to ascend the mountain. It's also not a bad idea to check out the nearby Lon Lon Ranch, now that the owner has made his delivery to the castle...
Up Next: Spiritual Stone of Fire - Kakariko Village Walkthrough
Topics in this story
Gathered from external sources. Rights to this text belong to whoever originally published it.