Great Deku Tree Dungeon Walkthrough - The Legend of Zelda: Ocarina of Time Remake Guide - IGN
Welcome to IGN's Guide to The Legend of Zelda: Ocarina of Time Remake. After 28 years, Ocarina of Time has been fully remade, and while much of it remains
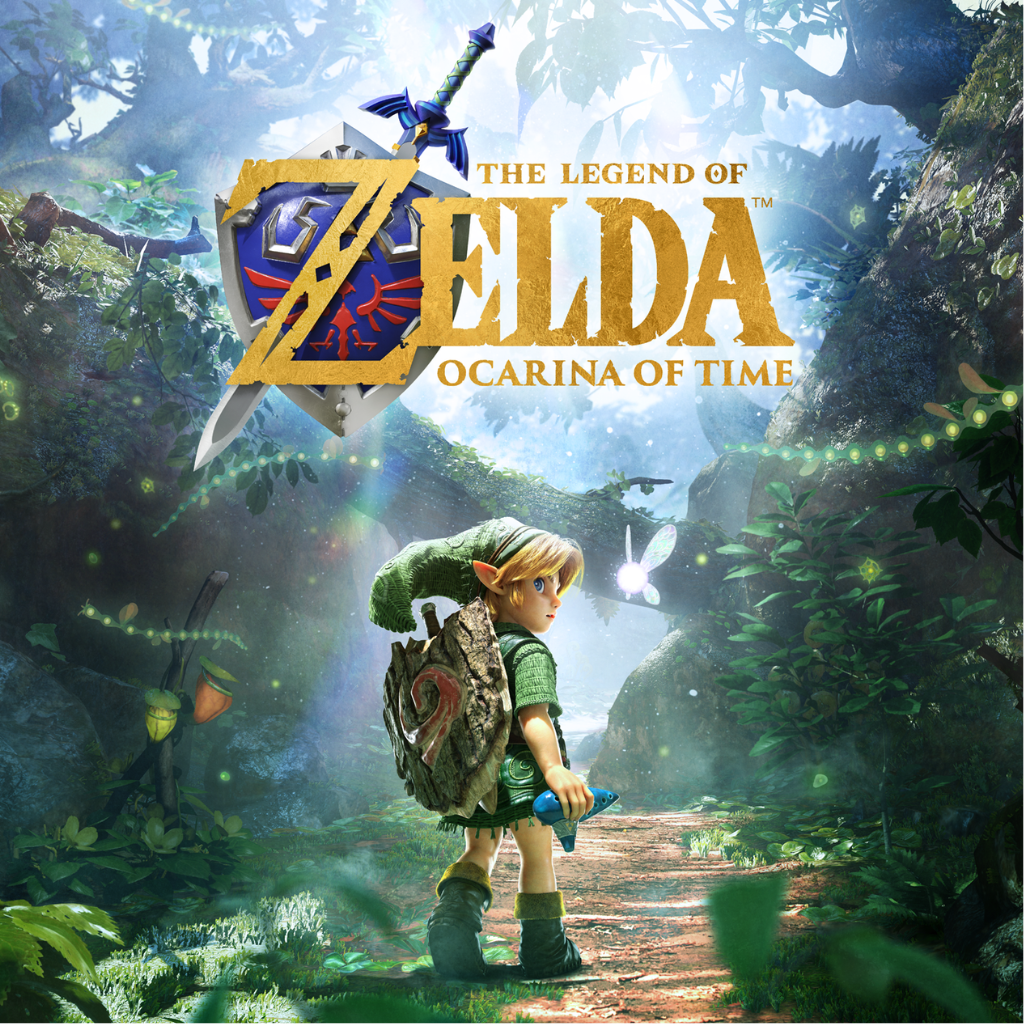
Welcome to IGN's Guide to The Legend of Zelda: Ocarina of Time Remake. After 28 years, Ocarina of Time has been fully remade, and while much of it remains the same, there's plenty of new differences to be found while exploring Hyrule. After exploring the Kokiri Forest to equip both a sword and shield, the young child Link will now face his first true test: Defeating the monster that lurks Beneath the Great Deku Tree.
Now that Link is properly outfitted for adventure, you'll be able to finally meet with the Great Deku Tree, who has a task for this child of legend. Deep within the Deku Tree lies the Spiritual Stone of the Forest, which is vital to ensuring the peace of the realm. However, a certain evil figure seeks this stone, and has attempted to steal the stone by unleashing a monster inside the Deku Tree. Together with Navi the fairy, it will be up to you to descend into the mammoth tree and defeat the evil within.
Entering through the tree's open mouth, you'll find yourself in your first dungeon. These realms are full of secrets and puzzles, and it will be up to you to find a way deeper into the roots of this area. To do so, you'll need to be on the lookout for vital tools to help you, namely: a Dungeon Map, a Compass, Keys to open locked doors, and a Special Item unique to the dungeon that is vital for solving its puzzles.
As you enter the dungeon, the first thing you're likely to notice is a large spiderweb encompassing the center of the room. There seems to be a pathway far below, but you'll need to find a way to get through the tough webbing, which means climbing higher.
All around the webbing are more Deku Baba that will spring out of the weeds and bushes. Many of these will lunge toward you, rather than springing straight up like the ones you encountered on the way to the Great Deku Tree. Avoid their root-like tongue and step back out of their range, then retaliate with a few quick stabs (you can also block, but it will respond by readying up for another lunge, whereas sidestepping will leave it open to attack). If you strike and defeat a Deku Baba's head, you'll earn yourself a Deku Nut, while striking at the enemy's stalks will award you Deku Sticks.
Deku Nuts don't deal much damage, but they can be used to briefly stun enemies around you, making it a useful tool to have at the ready. You can do so by holding the R button and moving between equippable items, or equipping it directly through your main menu's inventory screen. With the first floor cleared, look around for some bright green vines, which you can jump onto to begin climbing up to a higher level. There's a ledge here overlooking the webbed pit, but jumping down from this height just isn't enough. You'll need to go further.
Head along the second floor pathway until you come to more vines, only these are guarded by Skullwalltulas. They can move surprisingly fast along the vines to hit you while you're climbing and defenseless, which means you'll need a way to deal with them. For now, focus your attention on the large Treasure Chest at the base of the vines, and open it to reveal this area's Dungeon Map!
With this map, you'll now have a rough outline of the entire dungeon, allowing to view all the floors and rooms, but their contents won't reveal themselves until you explore them yourself. Still, it seems there's a much larger area in the basement, which is where you'll need to get to.
Keep moving to the far side of the second floor to find a door into a new narrow room. The door will seal behind you, and can only be opened after defeating the foes in this room: A Deku Scrub. These guys like to burrow into the leaves where they can't be hit, and will emerge only when you're at a distance to spit nuts at you. Wait patiently with your shield out, and the nut will bounce right back to him.
Stunned, he'll begin to flee, allowing you to give chase, and once he runs out of breath, you can slice to get him to give up, and the door will open after he reveals a tip about rolling after a fall.
The next room features a wooden bridge leading to a high platform, only for the bridge to crumble as you begin to cross. Race to the other side, where you'll find a Treasure Chest holding your first big upgrade, the Fairy Slingshot!
With this tool, you'll now be able to take out enemies at range by using Deku Seeds as ammo for your newfound slingshot. You can either hold ZL to target an object and snap to it before holding ZR to aim your slingshot, or free aim and use either your control stick or gyro controls for more precise movements.
Try it out on the small vine wall to the side of the chest where a lone Skullwalltula sits, and then climb up to find a hidden Treasure Chest holding 3 Deku Nuts.
With the wooden bridge collapsed, you'll need a new way across. Look above the doorway, and you can spot a strange eye embedded in the wall. Hit it with your slingshot to close the eye, and the mechanism will release a ladder for you to climb up and go back to the central room.
Armed with your slingshot, approach the large vine wall and take aim at the three Skullwalltulas guarding the vines. Once they are dealt with, you can begin the climb (and rapidly ascend by tapping the jump button).
Now on the third floor, leap sideways along the vines to find a platform to drop down onto, and you'll find a long circular pathway high above the webbing blocking the basement access below. Before that however, look for the first door on the left, but be prepared to deal with a bigger type of spider. This Skulltula will block the doorway, and trying to attack its hard skull shell will have no effect. What it will do is cause the spider to spin (which you should back away from or risk getting hit), and then wait for its underbelly to show, and strike quickly. Two hits (or one jump attack) will be enough to defeat it, and then you can head through the door.
This room holds another Treasure Chest on the far side of the room, but the ground in the middle is too low to climb up. Instead, look for a small stone button on the right side to step on, and it will cause three platforms to rise up in the middle.
The platforms will soon begin to sink back down, so waste no time in jumping across to the far side -- but be ready for a Deku Baba to ambush you when you get there. Defeat it, and then open the Treasure Chest to claim your final major prize, the dungeon's Compass!
With this tool, you can now get a more detailed view of the Dungeon, and spot the location of other treasure chests, locked doors, and even the Boss location.
Take a look at the map, and you'll notice there's one such Treasure Chest on your map just a few feet away from where you got the Compass. Look behind the chest and cut away the grass to reveal a small tunnel to crawl through. Climb up the vines on the other side, and you'll find a Treasure Chest with Three Deku Nuts!
Returning back across the sunken pit in the middle of the room, look for a high ledge on the side with something gold and shiny. The path to the ledge is guarded by another Skulltula, which you should take your time defeating while still in the sunken area, before going back to raise the platforms by stepping on the stone switch again.
Hop across to the left, and you'll find a curious Gold Skultula. These creatures can't be targeted with ZL, and are hidden all across Hyrule in hard to spot places. Defeating one will earn you one of 100 Skulltula Tokens, which you can exchage for rewards later on!
With compass in hand, return to the top of the central room and continue making your way up. There's another Skulltula lurking above, and guarding a few Recovery Hearts if you need to get some health back.
Defeat one more Skultula along the narrow walkway, and you'll at last be at the very top of the dungeon. It's a long way down, but that's exactly where you want to go. Give a mighty leap into the center of the room and fall all the way down onto the webbing, which will finally give way and drop you down into the basement of the dungeon.
As you swim out of the pool of water, be sure to turn around. There's a large vine wall leading back up to the first floor in case you need to get back, but more importantly is a Gold Skultula. You can defeat it with your slingshot, and then climb up to retrieve the token.
In this first large basement room, you'll be overlooking a section of water dividing the room into two parts, and the water currently prevents you from reaching the back half of the room. Down below to the north and south are two large alcoves covered in more webbing.
As you drop down near the large dividing pool of water, check the northern side to find a large grate where a third Gold Skultula is hiding. You can shoot it from afar with your Slingshot, and then leap to the grate to claim the token.
Near the Gold Skulltula is a large webbing blocking a small Treasure Chest, but you can step on a stone switch to light the nearby torch, which will burn away the webbing, granting you access to Three Deku Sticks!
Take one of those Deku Sticks and equip it, and then stand next to the newly lit torch to light up your stick. Quickly race along the platforms to the south end where the other webbing blocks a doorway, and burn it away with the stick before it burns up in your hand (be sure to unequip it by pressing B after the webbing burns).
In this next room, defeat another Deku Scrub by bouncing the incoming nut back to its face, and it will reveal a secret about some of its friends blocking the way up ahead. You can unlock the far door in this room by hitting the eye symbol above the door with your slingshot.
This room features a large pool of water with a platforming floating between both ends. However, the platform floats right under a large spinning axle covered in thorns, making it impossible to duck under.
To solve this puzzle, leap into the water and look to the left below a large grate to find a switch on the floor. Dive down to hit it, and a large block will suck some of the water in the room, lowering the floating platform so that you'll have enough room to ride it under the thorns to the far side.
A lone Skulltula guards a high ledge beyond this room, and after defeating it you'll find it's too high to climb on your own. Luckily, there's a large stone block to the left that you can push in front of the ledge. Move to the side of it and hold the A button to interact and push it across until you can leap over to the other side.
Here you'll find one lit torch surrounded by three unlit braziers, and a few Deku Babas that you can kill to get more Deku Sticks if you're running low. Use one of the Deku Sticks to light on fire, then run between the three unlit braziers quickly so that all are lit at the same time, and the door will unlock itself.
Watch out for another ambushing Skulltula from above as you enter the next area, followed by three eggs falling from above that will quickly hatch to reveal Gohma Larva. These strange insects will stumble toward you and glow red before lunging at you, but tend to retreat when damaged. Fend them off by sidestepping or blocking their lunge and then retaliating.
With all enemies defeated, note the webbing in the top northwest corner of the room. Use the nearby lit torch to light up a Deku Stick so you can burn the webbing away, and defeat the Deku Baba and regular Skulltula guarding the path to the final Gold Skultulla of this dungeon. It's sitting high on some vines at the back of the room, and you can slingshot it before climbing up to get the token.
Returning to the area where you fought the larva, light up your Deku Stick once more to burn away the webbing to the east, and look for a small passage to crawl through, returning you to the first room you fell into in the basement.
From here, you'll find another large webbing blocking a hole in the ground, as well as a large stone block you can push forward and drop it down a ledge to create a shortcut back to the basement entrance -- and more importantly, the lit torch in the corner.
Jump down and pull out another Deku Stick, and light it up using the torch. Quickly hop back across the water to the block you pushed down, and jump up (with the stick still equipped) to pull yourself onto the ledge, and then roll into the webbing with the lit stick. If done quickly, the webbing will burn away, allowing you to drop down one more into the lower basement B2.
This area consists of one large room, guarded by the three Deku Scrubs that the other scrub warned you about earlier. He gave you a hint that defeating them was "as easy as two, three, one".
When approaching these Scrubs, you'll find that trying to bounce their nuts back at them won't work... unless it's done in the correct order. If you number the Deku Scrubs from left to right at 1, 2, 3, then defeating them means you'll need to stun them in the correct order. Dodge the incoming fire so that you only reflect the nuts back at the center Scrub first, then the one on the right, and finally the one on the left.
With the enemies defeated in the correct order, attack the final Scrub when it tries to flee, and it will impart some final wisdom before fleeing about defeating the boss. Be sure to search this room for some bushes you can slice up for more seeds and nuts as needed, and then head through the door to face the fearsome foe haunting the Great Deku Tree.
Link will find himself in a large darkened room with a strange clattering sound echoing forth. It may look empty at first, but you need only look upward to find the source - a large and malevolant eye, signaling the arrival of the boss.
Gohma is a heavily armored arachnid, and as the Deku Scrub warned, its only true vulnerable spot is that singular eye. This makes close combat battle a little harrowing, so you'll likely want to keep your distance until you spot your chance.
As she approaches, Gohma will cover her eyes with the mandibles above her face, and block any incoming attacks. Soon she will prepare to strike, raising its mandibles and two large forward claws. That's your cue to backflip away from the danger before Gohma slams forward.
As it slams down, you'll see that its claws get stuck in the dirt for a few moments. When the eye turns green with surprise, that's your cue to leap in and give its eye a single slash before its claws can break free, and then go back to playing defense until the next opening.
After a few strikes, Gohma will decide to change things up, and retreat away from you, and start climbing up the walls!
Watch it carefully, as soon after reaching the ceiling, Gohma's eye will turn green again. You need to be quick to react, and pull out your Fairy Slingshot to hit it with projectiles from afar while she remains out of reach.
If you don't attack fast enough, Gohma will begin to spawn a trio of larva to deal with. The good news is they'll drop down to the ground in egg form and hatch after several moments, giving you the chance to use your slingshot at range to rip apart the eggs before the larva can burst out.
Hitting its eye with your slingshot will cause Gohma to become stunned, crashing down to the ground and becoming dizzy for several moments. That's your cue to run in and start slashing with quick hits or jump attacks to deal as much damage as you can before Gohma can right herself and flee once more.
If you take too many hits from Gohma or her larva, be sure to run the length of the arena to spot a few Recovery Hearts to heal yourself with.
After recovering from her stunned state, Gohma may try to resume close combat attacks. You need only lure out her slam attack and then stab at the eye to stun her again, and keep landing blows. Do this about three times, and Gohma will be defeated! Your reward will be a special Heart Container, which gives you a full extra heart!
With your mission complete, head into the glowing blue light to talk to Navi, and teleport back outside.
The Great Deku Tree will thank you for your heroic duty, and reveal more about the world -- how the three Goddesses created the world, how the Triforce was created as they departed, and how an evil man seeks to claim its power by gathering the Sacred Stones that open the path to the Sacred Realm and Triforce.
Sadly, Link's heroism was not enough to save the Great Deku Tree from the spreading corruption. Imploring Link to take up his destiny to face this evil and protect the Triforce with the help of the Princess of Hyrule, the Great Deku tree will impart the Spirtual Stone of the Forest, the Kokiri Forest, before bidding on final farewell.
There's nothing more you can do here, so head back to Kokiri Forest to relay the news to a distraught Mido. Saria will also be upset at the thought of Link leaving the forest, and will leave.
You can talk to the rest of the Kokiri children to get their thoughts on the Deku Tree's passing, as well as stocking up on supplies at the shop if you wish. You can even return to Link's House whenever you wish to rest and recover your hearts!
When you're ready to set off on your grand adventure, leave the forest by way of the western exit, and speak to the Kokiri child guarding it, and he'll let you pass after learning of the Great Deku Tree's last request.
Before you can fully leave, you'll run into Saria. As a keepsake to remember her by, she'll gift you the Fairy Ocarina, a musical instrument that seems to hold some mystical power and will become important in your adventures. Your next task lies across the expansive Hyrule Field in Hyrule Castle itself, where a certain Princess is waiting to be found.
Up Next: The Princess of Hyrule Walkthrough
Topics in this story
Gathered from external sources. Rights to this text belong to whoever originally published it.