Shadow Temple Dungeon Walkthrough - The Legend of Zelda: Ocarina of Time Remake Guide - IGN
Welcome to IGN's Guide to The Legend of Zelda: Ocarina of Time Remake. After 28 years, Ocarina of Time has been fully remade, and while much of it remains
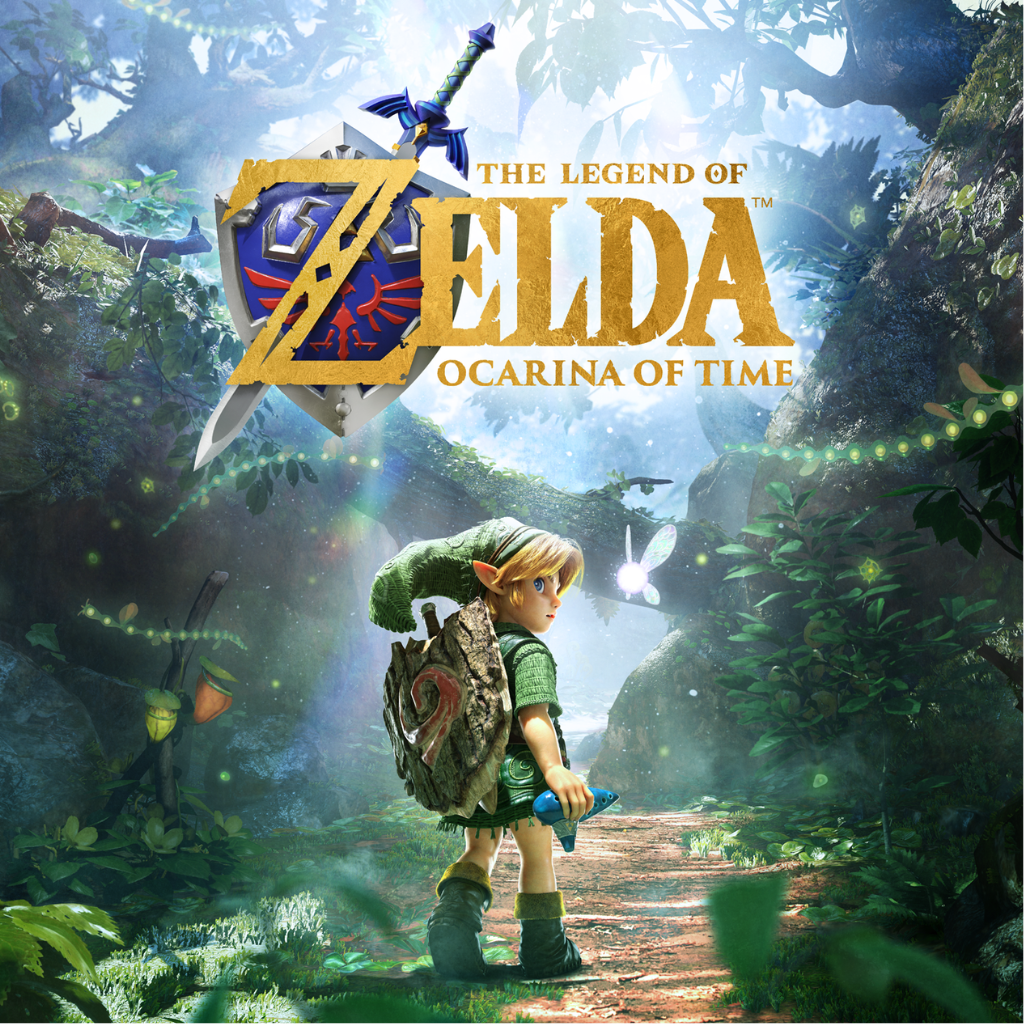
Welcome to IGN's Guide to The Legend of Zelda: Ocarina of Time Remake. After 28 years, Ocarina of Time has been fully remade, and while much of it remains the same, there's plenty of new differences to be found while exploring Hyrule. The attack on Kakariko Village may have been thwarted, but a sinister presence still lurks in the Shadow Temple beyond the Graveyard. Link will need to uses his new Lenses of Truth to reveal the evil and assist the Shadow Sage in sealing the darkness.
Now that you've obtained the Lenses of Truth from Beneath the Well in the past, Link can now return to Kakariko Village as an adult, using the Nocturne of Shadow that Sheik passed down to find the secret entrance to the Shadow Temple overlooking the Graveyard.
Entering the Shadow Temple's depths, you'll be greeted with an ominous room and a plaque decreeing "Those who lack the eyes of truth are not granted the way forward". Equip your Lenses of Truth, and you'll see what they mean.
A large circle of unlit braziers line the center of the room, invisible to the naked eye. This is the secret mechanism preventing access to the temple, but now that you know what's hidden, you can take the steps to opening the sealed door. Use Din's Fire while standing in the middle of the room to light all of the braziers at once, and the way forward will be open to you.
Heading through into the corridor beyond, be ready for an ambush by Flying Pots, and stand your ground with shield raised to let them crash harmlessly into pieces. Turning the corner, there's a large gap you'll need to use your Longshot to cross to the far side. Another plaque waits here in front of a wall, again warning you "To the fool who defies the darkness, know that without the eyes of truth, there is no path". You can consider that an extra warning if you were able to make it through the first area by a "lucky guess"...
Equipping the Lens of Truth at this seemingly dead end, you'll find its not an end at all, and you can simply walk through the creepy face into the room beyond.
More walls lined with creepy faces can be found here, along with a large imposing deathbird statue bearing a handhold as well as a plaque that reads "The tip of my beak seeks the skull of truth. Should it find falsehood, darkness shall fall". Seems ominous!
What this means is that of the small columns around the statue lined with skulls, only one is the "skull of truth". Put on your Lenses of Truth and you'll see what they mean - all but one will disappear! Pull the bird statue around so that the beak faces the northwest, and the door to the east will open.
There's another plaque along the floor over by a large pit at the end of the room where the door you opened is out of reach, reading "The valley of dead can only be crossed with footsteps as light as a feather". This means the way forward is closed to you until you can find a new item to help you traverse gaps like this.
For now, turn back to where the "skull of truth" was and you can find that there's a hidden doorway behind it along the northwest wall. Head through to find an ominous skull again warning you that you're really going to need to see the truth.
Beyond, you'll find a masuoleum like area lined with skulls, with another hidden doorway under a black skull to the north that your Lenses will reveal.
Head through the hidden door, and you'll enter a room that will seal behind you, leaving you to battle a Redead and several Keese. Remember to use your Sun's Song if you need to stun the foe, otherwise keep strafing behind the Redead to slash at its back so it can't hit you with its paralzying beam. Defeating the room will reveal a large Treasure Chest holding a Dungeon Map!
The map will also help reveal the location of some hidden passageways you may have easily missed unless you were looking around carefully with the Lenses of Truth. One such room appears to be an identical masolueum square room west of the first one, and you can find a hidden opening along the western wall.
Head through this next small room and be ready to deal with more Flying Pots, as well as a Wallmaster that may try to yank you from above. Dodge back when the shadow grows and the spotlight turns to red to dodge and then slash it before it can escape.
There's another hidden entrance leading out of this room that your map can clue you in on, in the northwest corner of the room heading west. This leads to a long hallway that will try and jumpscare you when the floor gives out, but you can climb up the other side using the mesh wall.
In the room beyond, you'll face off against an old foe: Deadhand has returned. He's just as cagey has he was seven years ago, meaning he won't show his face until he thinks you're trapped. With that in mind, allow yourself to be grabbed by one of the hands so that he appears and starts to lumber forward, and then break free and start slashing at him before he can retreat.
Make sure not to charge in recklessly once you break free, as you can easily be grabbed by other hands and leave yourself open to getting chomped.
Thankfully, your adult weapons deal a whole lot more damage than your Kokiri Sword, so it won't take a whole lot of punishment to bring down Deadhand for good. As he falls, a large Treasure Chest will appear holding this temple's treasure: The Hover Boots!
These boots are the polar opposite of the Iron Boots, and are mapped to down on the D-pad as well once selected. When stepping off a ledge, you'll no longer drop straight down, and instead float in the air for several moments, with the momentum of your steps carrying you across gap. The only downside is they make your movements a bit slippery -- as if you were running on ice, so it's best to unequip them when moving normally or in combat unless absolutely necessary.
Try them out by running back through the previous hallway, and the Hover Boots will send you clear across to the other side!
Return to the room with the creepy bird statue, and be sure to point its beak to the one real skull column in the northwest if you haven't already. You'll now be able to equip your Hover Boots to dash across the pit and onto the creepy tongue-platform on the far side and continue one.
The room ahead is guarded by a Beamos, and also sports a large cracked wall on the far side: two things easily solved by a well placed bomb toss! However, a locked door waits for you on the other side, and when consulting your map, you can spot rooms to the north and south.
Sure enough, your Lenses of Truth will reveal the other two walls to be fake. Take the path to the south first to enter the room below. The door will seal behind you, forcing you into another close-quarters battle -- this time with two Gibdos. These mummies are tougher variants to the ReDeads, and can prove quite tenacious. You can try using Din's Fire to burn both at the same time, just be sure you keep some distance if they try to paralyze you and then stagger quickly to latch on and sap your life!
Defeating the pair will reveal a new large Treasure Chest holding the Compass, which can further help you get your bearings in this mysterious temple.
Take the path north next, which leads to a large room with an unsettling sight: A large statue of twin robed figures slowly spin two large scythes around the room. As the statues spin, you can spot five silver Rupees that have been placed around the room, and you'll need to move quickly and carefully to gather them all.
Follow a scythe as it passes to grab the first silver Rupee, then race to the northeast side and jump up to clamber on a thin wooden barrier with the second Rupee as the scythes cleave through below you.
From here, you can leap to an alcove in the north to find a third silver Rupee. Note a strange plaque in the alcove nearby, which reads "Approach if you seek the ferry to the afterlife". Step forward and you'll fall down an invsibile hole all the way to floor B4 where you can view a large skeleton ship, but the way forward is blocked from this approach.
Back in the scythe room, dash over between the scythes to another wooden barrier, and look for the fourth silver Rupee on a high ledge with a Longshot target you can zip to while above the scythes.
Finally, time your leap down to the west alcove to grab the last silver Rupee. This opens up an area on the opposite side of the room containing the first Small Key, just be sure you make your way over to it carefully.
Open up the locked door back in the hub room where the Beamos was to head down a long twisting corridor. Move cautiously here and look for bits of drool trickling down from above to spot where several Skulltulas are waiting to drop down and ambush you.
Near the end of the hall, you'll need to drop down, and evade falling guillotines in addition to fending off a few more Skulltulas. Once at the end, take the lift down further into the basement.
You'll now find yourself in a large cavernous room, with only a few platforms over the large pit below, and bigger ledges along the south side. First, carefully time your jumps past the falling guillotines to follow the road south to the first large platform.
Up Next: The Legend of Zelda: Ocarina of Time Remake Guide
Topics in this story
Gathered from external sources. Rights to this text belong to whoever originally published it.