Decapitation Walkthrough - Call of Duty: Modern Warfare 4 Guide - IGN
Once you're of the action-packed Entrenched mission, you once again take control of Park as they close in on the North Korean leadership's
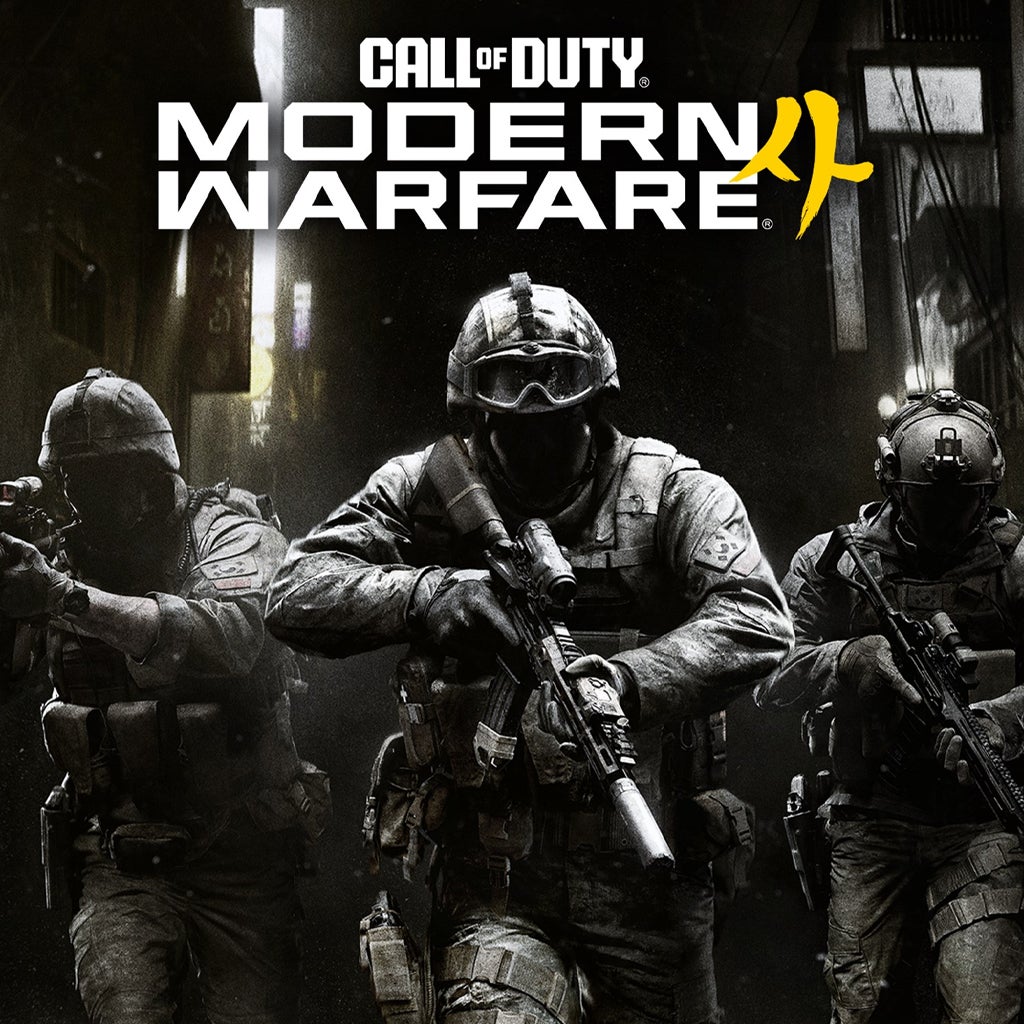
Once you're of the action-packed Entrenched mission, you once again take control of Park as they close in on the North Korean leadership's headquarters, hoping to end the war. Our Call of Duty: Modern Warfare 4 walkthrough is nearing its end!
When you retake control of Park, you’re in the gunner seat of the chopper above the North Korean seat of power. Immediately start firing on the ground troops and vehicles - be sure to lead your shot a little bit as there’s some drag. You’ll start to get targeted by RPGs, so track them down by finding their smoke trails and send them a heavy lead present for their trouble.
You’ll loop around to the balcony where even more RPGs are waiting for you, so take them out swiftly. As you round to the back garden, focus fire on the stairs as most enemies will be there. Next, an enemy helicopter flies in, and this is where leading your shot is recommended - it can be slightly difficult to hit.
Once the helo is down and you’ve safely landed, you’re reassigned to Tiger-1 after they’ve suffered a casualty. Join up with Ko and follow him to the rappel hook up spot.
Take out the enemies as you drop in, then follow Ko and Ghost into the grand hallway where even more enemies are waiting for you. If you start to run low on ammo, link up with Kal and use his backpack for a quick resupply.
Follow the squad into the atrium and take out these enemies, then turn around to fight the ones coming in from the rear. Wait for the door breach charges to go off, then go into the art gallery and, you guessed it, take out the enemies here and continue through with your squad. You’ll take heavy fire here, so be sure to check your corners, stay stocked on ammo, and prioritize taking the time to re-up on armor plates. Once you clear the second gallery room, head down the corridor to the gold-adorned double doors.
Instead, Ko opens up a secret passage behind a portrait, so head in there. Kal cuts the power, so hit D-pad Right to activate your night vision goggles. You’ll find yourself in the same corridors from Escape, but this time there’s no need to be sneaky. But the hallway is narrow, so be vigilant about checking corners as enemies may surprise you - there’s even an attack dog down here to be prepared for. But the biggest threat are the large shotgun-wielding armored foes, so focus fire on their heads to take them out as quickly as possible.
Keep following Ko, Kal, and Ghost through the winding corridors. When you reach your goal, Ghost breaks off to search for Price, prompting Park to crawl through a vent with Ko to progress their mission. Fight through the prison area from Escape, remembering to stay armored up as this area is one of the tougher ones in the game. Once you reach the main command area, head through the doors on the opposite end of the room and turn right to fight a soldier, dog, and armored soldier in the hallway.
Stack up behind Ko to get ready to breach the door, and take out the enemies dazed by the blast. You can take off your night vision goggles once it’s safe for clearer visibility. Stack up behind Ko again on the other end of the room when the secret door is revealed, but the enemy takes the squad by surprise instead.
You come to in a slow motion sequence, and you have a limited time to take out the three enemies coming through the blast hole - aim for their heads. Do the same for the fourth enemy to come through the hole, then enjoy the following cutscene.
Topics in this story
Gathered from external sources. Rights to this text belong to whoever originally published it.