Disaster in Goron City Walkthrough - The Legend of Zelda: Ocarina of Time Remake Guide - IGN
Welcome to IGN's Guide to The Legend of Zelda: Ocarina of Time Remake. After 28 years, Ocarina of Time has been fully remade, and while much of it remains
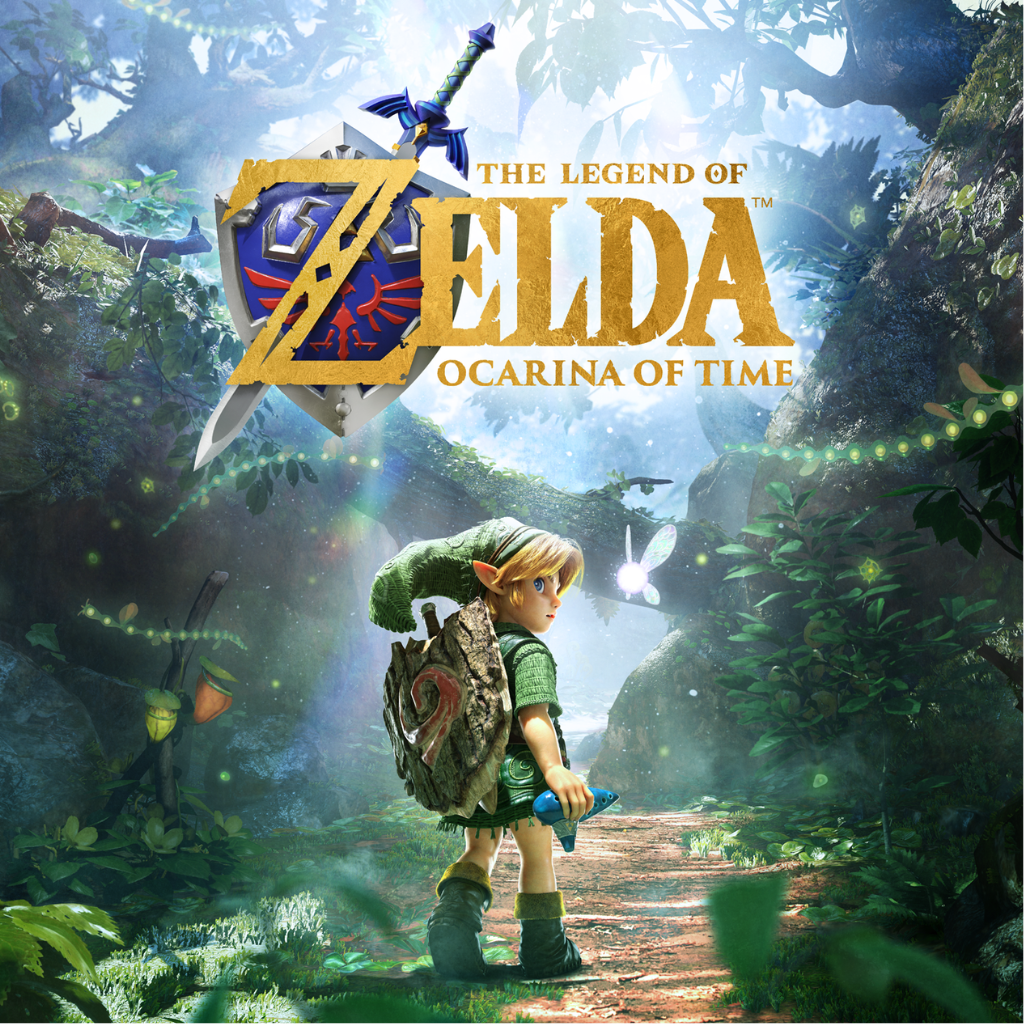
Welcome to IGN's Guide to The Legend of Zelda: Ocarina of Time Remake. After 28 years, Ocarina of Time has been fully remade, and while much of it remains the same, there's plenty of new differences to be found while exploring Hyrule. Now that the Forest Temple has been cleansed and the Sage of the Forest awakened, Link must search Death Mountain to find the next Sage, but will need the help of the Goron Tunic to survive the volcano's extreme heat.
It's been seven years since Link last visited the Gorons of Death Mountain, and the ominous looking volcano on the horizon seems more dangerous than ever. Armed with your new Hookshot and Fairy Bow, it's time to pay your Sworn Brother a visit!
While the ascent up the Death Mountain Trail is just as short as ever, it has grown more dangerous since last you were here. The Tektites might not be so threatening anymore, but the stream of deadly boulders rolling down the mountain are a deadly new addition!
Hug the right side of the trail once a boulder passes to slip around, and use the alcoves as cover until you reach the first ledge and a bit of a respite. There are new large grey rock chunks everywhere, but your bombs lack the ability to break them apart.
Did you remember to plant those Magic Beans in the soil outside of the entrance to Dodongo Cavern all those years ago? If you did, you can now ride up using the new floating magic plant to finally reach the high ledge above holding the Piece of Heart that's been taunting you for so long!
Speaking of Dodongo Cavern, it's the only dungeon from your childhood you can still enter, and there's actually a reason for that. Head back inside, moving through the entrance hall and taking the first hallway path to the east. You may remember there was a high ledge above the Baby Dodongos you couldn't reach before, but now there's a gust of straw coming up from that spot. If you made an official Scarecrow Song for Bonooru and Pierre, play it here, and Pierre will appear. This allows you to hookshot up to him, where you'll find the dungeon's last Gold Skulltula!
Continue up the mountain trail, dodging the next train of boulders rolling down from the trail to the summit by sticking to the left wall until you can enter the tunnel path toward Goron City. The old Bomb Flower and its attendant are gone, as are pretty much all the Gorons that used to be out on the trail.
One thing you can uncover is a Grotto entrance over on the right side before the city entrance, and play the Song of Storms to make the propeller plant disappear. Inside, you'll find a fog-filled cavern room with several Baby Dodongos hiding beneath the mist. Defeat them, and help yourself to all the Rupees down here!
Unlike Kokiri Forest, Goron City has not been overrun by monsters, thankfully. And yet, it seems pretty quiet here now. Where is everyone? To answer, a young Goron will spy you entering, and start rolling away in fear that you're here to do no good.
He'll roll around the city layer just one ring below the main entrance, and moves pretty fast, daring you to stop him. Like the other Goron in the city when you were a child, you'll need to stun him with a well-timed exploding bomb to get him to stop his endless rolling.
The good news is you don't have to waste your precious bombs: look to the right of the entrance to spot a group of Bomb Flowers by one of the rope bridges leading to the central platform the Spiritual Stone used to be on. From here, you'll have a good vantage point to spot him rolling from afar.
If you're having trouble judging the distance, you can try dropping down first to startle him and make him roll clockwise, so his approach isn't obscured by the tunnel. Making him turn around and roll the other way also slows him down, so you can force him to stop when rolling past a bomb to ensure he gets stunned by the blast!
Once the Goron kid is seeing stars, move over to talk to... Link? Apparently this kid was named by his father Darunia after your Dodongo-slaying exploits! From the little Goron, you'll learn that Ganondorf came and kidnapped all of the Gorons, taking them to the Fire Temple to be sacrificed to an ancient dragon. Darunia seems to have gone to the temple to help, but no one has returned.
Talk to the kid to try cheering him up, and when Link offers to save the day, you'll get a special thank you present: The Goron Tunic! With this fashionable red tunic, you'll be able to survive the extreme heat of Death Mountain's crater!
The little Goron Link will open up access to the rest of the city for you, including a secret path to the crater behind the statue in Darunia's Chambers.
Before you head off, there's a few things you can do around here:
Back on the top floor, head to the east side to find Medigoron's room. Apparently he was too big to kidnap so Ganondorf just kind of left him there. The sword he's been working on since you were a child is finally ready to buy, now that you're an adult. It's called the Giant's Knife, and though strong, he'll also caution its pretty brittle. If you want to give it a try, it's 200 Rupees to buy one, just be warned that after a bit of attacking the blade will snap, which will both drastically reduce the blade's reach and damage output. But... it does look kind of cool.
If you're hoping for something a bit more resilient, there is a way to get something more durable, but we lack the tools to procure one right now.
Head back down to the floor below where you met up with Goron Link, and move around to the north side. This should put you around the tunnel on the opposite side of the high platform where the Spiritual Stone used to rest. Jutting out below the platform is a rocky outcropping, where a Gold Skulltula can be found.
Be sure to also look for a small tunnel entrance on the southwest side on this level. It leads to a long lava-filled room you can spot on the mini-map. Though you were unable to traverse this area as a kid, you can now use the Hookshot to zip over the lava to the far side, leading to a Grotto.
Inside, you'll be presented with a puzzle: a sign will notify you that the five other signs have explicit instructions on which signs need to be cut. Cut the wrong ones, and you won't get the good prize (If you bought the Giant's Knife, swap to the Master Sword so you don't accidentally slash signs with its big range). From left to right:
The First Sign says "Cut this if there are no other signs to cut". This will be the last sign you cut.
The Second Sign says "Don't Cut this." Do not cut this sign.
The Third Sign says "You can cut this right away." Cut this sign.
The Fourth Sign says "Maybe you can cut this. Maybe not." Do no cut this sign.
The Fifth Sign says "You can cut this, but you can't cut the left one." Cut this sign.
After cutting 3 and 5, cut Sign 1 last, and if you were correct, a Treasure Chest to the right will appear, holding a Purple Rupee!
You can check out the Goron Shop near Darunia's Chambers if you want (the only other Goron that escaped being kidnapped. He also sells a Goron Tunic, which is good to remember if for some reason you lose the one you were given.
To reach the secret path, enter Darunia's Chambers can look for the large statue at the back of the room. Pull it outward, and you'll find a hidden path beyond.
Be sure to equip your Goron Tunic as you enter! If not, you'll steadily take damage from the extreme heat, which is very inadvisable!
There's a side path to the southwest leading back up to the summit of the crater, but large grey rocks block you from that pathway. Instead, use the Hookshot to zip across the broken bridge to the east.
It's here you'll meet Sheik (who must be rocking a Goron Tunic under their ninja garb). Just like at the entrance to the Forest Temple, the Sheikah warrior will have a new melody for you to play:
Complete this prompt to learn the Bolero of Fire, allowing you to return to the fiery crater of Death Mountain whenever you wish!
After Sheik makes another dramatic entrance, there's a few things left to do before going inside. If you didn't explore the summit as a child, it's worth going back to get two Heart Pieces and a Gold Skulltula when you can. And if you look near the large platform by the temple entrance, you can find a long abandoned patch of soft soil.
Warp back to the Temple of Time, head to Zora River, and grab another helping of Magic Beans and a bottled Bug. Play the new Bolero of Fire to teleport over to the Fire Temple. Even though Link cant enter as a child, you can quickly plant some Magic Beans nearby, and drop a Bug into the soil to produce a Gold Skulltula (just be quick since you'll be on fire the whole time)!
With the Magic Beans planted in Death Mountain Crater in the past, return to the adult timeline, and warp back outside the Fire Temple. The now ripened magic plant seems to be doing just fine in the heat, and you can step on it to float all around the crater. This allows you to get the other Heart Piece if you missed it, as well as a brand new Piece of Heart on top of one of the large rocky pillars in the crater!
Note that if you're looking for some extra money, there's a low platform on the lava east of the temple entrance. From here, you can spot a higher platform with a gust of straw. Play the Scarecrow's Song and watch out for ambushing enemies as you make your way across to the far side.
At the end, there's a broken bridge up to the right, and another spot to play the Scarecrow's Song once more. Zip up again to the high ledge, and you'll find a ring of Rupees around a Purple Rupee!
Once you're all stocked on gear and supplies, head north to enter the Fire Temple .
Up Next: The Legend of Zelda: Ocarina of Time Remake Guide
Topics in this story
Gathered from external sources. Rights to this text belong to whoever originally published it.