Main Hall - Finding the Artist Walkthrough - Castlevania: Belmont's Curse Guide - IGN
This is a continuation of IGN's walkthrough for Castlevania: Belmont's Curse. In this section, we'll be focusing on the Main Hall as we explore
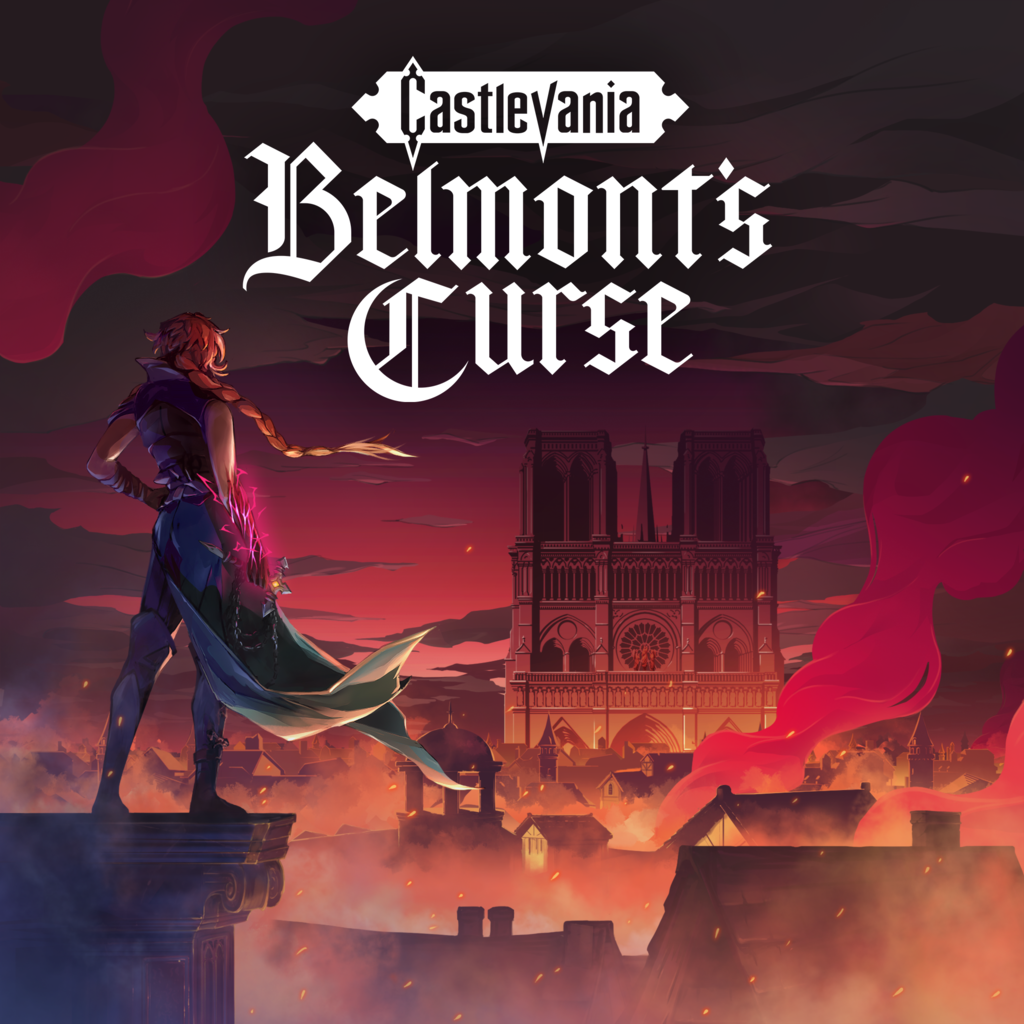
This is a continuation of IGN's walkthrough for Castlevania: Belmont's Curse . In this section, we'll be focusing on the Main Hall as we explore it to find the Artist, the next boss, and Tarot, which you'll be unlocking after having explored sections of the Clock Tower to find The Builder , known as Talos . You can follow along with this playthrough to review the previous sections here .
You'll be starting this portion of the walkthrough after leaving the Ferryman's Wharf in the Main Hall and entering the Grand Hall.
From the Grand Hall, you'll be making your way up, partially repeating the path you took to the Clock Tower, returning to the Watch Tower as you want to unlock the door at the top of the West Tower. Unfortunately, you'll need to repeat the Watch Tower climbing puzzle to reach the top and then get to the right side, making your way down. For those who'd like a refresher on how to scale the left portion, here's a full breakdown.
At the base of the Watch Tower, you'll only have one pathway to go, and that's up. Expect to encounter multiple spike traps, shards, and jumps that you have to do. If you fail anywhere along this path, until you reach the top, you'll respawn back at the bottom.
For the first portion, jump into the floating painting and wait for it to reach the left side. Jump up from there, and aim for the purple anchor on your right. You won't have long, though, as you'll need to jump to the left wall, or go straight to the floating painting above. You can take a break here, but when you're ready, you'll need to jump directly up, immediately activating your Halo to bypass the abyss shards, before turning them off to land safely on the platform.
Now, you need to activate your Halo and jump to the left, bypassing the wall and deactivating it again to safely rest on the shards, or go into the pit of spikes. This can take some time and practice to get correctly, as your timing needs to be precise.
From here, keep your Halo off, and wall leap up to the top. When you reach the right path, activate the Halo and bypass the wall, where you'll find a breakaway platform and a floating painting above you. You may need to jump onto the abyss shards wall to your left as you wait for the floating painting to reach you before you can take it.
After that, wait until it reaches the left side, and then shoot up, jumping onto the wall on your left and using the yellow anchor to swing to the right, landing at the foot of the glowing door.
Now, rather than going through the glowing door, go through the floating portrait that appears next to it. Wait until it reaches the bottom of this wall, and then fling yourself to the right side. Fall down the wall, where you'll land on a floating platform. You only have a few seconds to jump onto the next floating painting. If you don't have enough time, cling to the wall to the left to hold yourself up and buy time.
When you're in the second floating painting, fling yourself down onto a platform of shards. When you're ready, jump from this platform and activate your Halo, going through this wall of shards. There's nothing for you to land on, unfortunately, but the floating painting down here is not moving, so you don't have to worry about timing. Just don't expect a platform to catch you.
You can then fling yourself directly downward, landing on a breakable platform. You won't have long to grab and throw yourself into the floating painting on the right side, preventing you from being caught by the spikes. You can jump over to this side and use the whip to throw yourself into the painting, rather than waiting on the left side.
Now, when the floating painting reaches the bottom, throw yourself to the left, and you'll land safely at the end of this puzzle. You can now go through the glowing door below you and advance.
However, if you want to unlock the weapon chest to your right (the gold one), you can hit the lever that's to your left of the glowing grate, and the lever at the end is available. You can reach it by going down through the glowing door and hitting the lever in the West Hall, unlocking the wall that was previously blocking you from this section.
Return to the base of the Watch Tower, and you'll be able to unlock the door blocking the golden chest. The trick is that now you're on a timer, with the lever at the base slowly going back to its original position and shutting the door. You have to repeat the puzzle we've just gone through to reach the golden chest in time. You can't make any mistakes as you're navigating this puzzle, or you'll have to start over again.
When you pass through the wall, the lever stops, and you'll have completed the puzzle. You'll receive the Rapiers, the Refined dual blades for the rest of the playthrough.
Now, make your way through the top of the West Door, and you'll enter the Elevator Tower and a Mirror of Life. Head to the right to access the Mirror of Life, unlocking it for this section of the castle.
Before going further down this side, return to the elevator in the Elevator Room if you haven't already accessed it, and take it to the top. You'll unlock the one at the bottom, next to the Clock Tower entrance. You'll now be able to avoid the Watch Tower puzzle in the future.
Now, back to the Elevator Tower's Mirror of Life, follow the right path and you'll enter the upper portion of the Grand Hall. Take the path to the right, and you'll enter an encounter at the central section, where you find the flying knights for the first time. These flying knights are similar in appearance to the ones with the lances, but they carry a large shield, with a different type of weapon. Dispatching them requires you to use your whip to close the distance, or you can use the Fist of Talos (which is one of the Works of Mercy) to eliminate them while they're in the air.
Along with the flying knights, expect to fight the other knights that are also stationed around you. Once you've dealt with them, you'll find that there are several floating paintings in this room. There's one you can reach on the left side, next to the entrance you used to enter this area. Use it to land on the platform to your left, and destroy the XP statue.
With that added to your XP pool, head to the bottom right of this section of the Grand Hall, and there's a lower section that you can enter, highlighted by the purple anchor under a grate. Fall down here, and you'll enter a narrow hallway with a trap panel in front of you. You won't be able to dodge it, forcing fireballs to appear behind and above you, along with multiple bloodsucking ghouls in front of you.
You'll need to do your best to dodge these fireballs as best you can, potentially dodging underneath the enemies so they get hit by them, and make it to the other end of the hallway. Jump down, and you'll enter the lower section of this part of the Grand Hall. As you arrive at the bottom, there's a section to the left with another XP statue that you can destroy.
Now, head to the center of the room, and you'll find a knight with a pair of boomerang-throwing skeletons on either side. Defeat the knight, and a floating eyeball appears. Once they're all taken care of, head to the right side and destroy the XP statue next to the painting of Alucard. You can then jump down from this grate and head to the right, going through the glowing door to enter the Old Gallery.
You'll find one of Dracula's statues at the entrance. Interact with it, and the statue reveals that the Alucard paintings are much more than mere mentions of Dracula's son, but they point to secrets hidden throughout the Main Hall. This also unlocks another Arcana Clue surrounding the Artist.
You can use the Alucard painting next to the statue as a good test. Leap down directly from the painting, and you'll discover a lower section below that was previously hidden, and a new doorway for you to explore.
Although you can go through and explore this door, this is an optional area, and one that you do not need to go down to defeat the Artist.
Confirming that the Alucard paintings are true, you'll see these appear all over your map throughout the Grand Hall. We'll be making our way back through some areas and providing opportunities to grab them. For now, focus on the Old Gallery. Return to the Alucard painting above you, and proceed to the right.
You'll find a massive pile of spikes and a floating painting barely out of reach, with fireballs shooting downward in between you. Wait for the fireballs to go off before jumping and throwing yourself into the painting.
The painting will go to the right side, and then you can fling yourself up into the upper floor, where you'll find a new enemy. It's a floating sword that conjures additional swords around it to protect it, and damages you if you get too close. The trick is to damage the swords around it before you engage the larger one, but the middle sword does summon more over time. I've found that the Holy Cross or the Fist of Talos are an excellent way to make short work of these swords.
Once you've dealt with it, head to the left, and you'll find a permanent Attack upgrade, increasing your overall damage.
Return to the Alucard sword, and head back to the Grand Hall. There's an Alucard painting immediately after this entrance, pointing downward. Head below, and you'll find the lower section, the middle area of the Grand Hall. At the center of this narrow hallway is a massive gear (with a few ghouls on the left side).
Hit the gear to cause it to move, and you'll open the walls that were blocking these sections off, connecting the entire Grand Hall to each part, making it much easier to travel throughout this area.
Before you head back to the upper Grand Hall section, follow this hallway to the left and continue through the glowing door. This will take you to Brauner's Atelier, the boss room for the Artist. In this lower section, there's a large gear you need to hit (like the one from the Grand Hall) to open up the doors.
Inside, Rose asks Medusa if the statue is one of her creations. She confirms it is not, and is a creation by the Artist. When you approach the statue, you'll receive the final Arcana clue surrounding the Artist, revealing that he has put a warning on it for Talos, saying that he will swoop in if he dares attempt to destroy this masterpiece statue he's created, which is the perfect opportunity to bring him to you!
You can use the floating paintings to reach the middle of the room, and throw yourself upward to the purple anchor. When you reach the purple anchor, throw yourself down using Talos' smash, and land directly on it, summoning the Artist.
The Artist appears and has a brief exchange with Rose, revealing his true identity to be Brauner. Rose calls his masterpiece a hunk of rock, and Brauner is more than happy to engage Rose in combat given her rude comment.
However, unlike the other boss encounters you've had, Brauner is not a fighter. He gives up without putting up much of a fight, and willingly gives Rose his Arcana power. Rose absorbs him into her Tarot cards, adding one more power to her abilities.
With Brauner's ability, you'll be able to summon gargoyles and have them aid you in battle, as they spit fireballs and float around you.
Although Brauner is more than keen to assist Rose in defeating Dracula, he does not provide a good context of where to go next.
With Brauner's ability acquired, you can return to the Grand Hall, as there are additional Tarot cards that you need to unlock, and the next one is for The Occultist . They are in the Library.
You can find them by making your way to the upper part of the Grand Hall. In this upper section, there's a floating painting on the right side you can use, shooting you onto a platform on the right side and through a glowing door.
The doorway brings you to the Bridge of Knowledge. Follow it, and you'll find the entrance to the Library, the next area you need to explore to hunt down The Occulist.
Topics in this story
Gathered from external sources. Rights to this text belong to whoever originally published it.