Creature of Darkness - Bottom of the Well Dungeon Walkthrough - The Legend of Zelda: Ocarina of Time Remake Guide - IGN
Welcome to IGN's Guide to The Legend of Zelda: Ocarina of Time Remake. After 28 years, Ocarina of Time has been fully remade, and while much of it remains
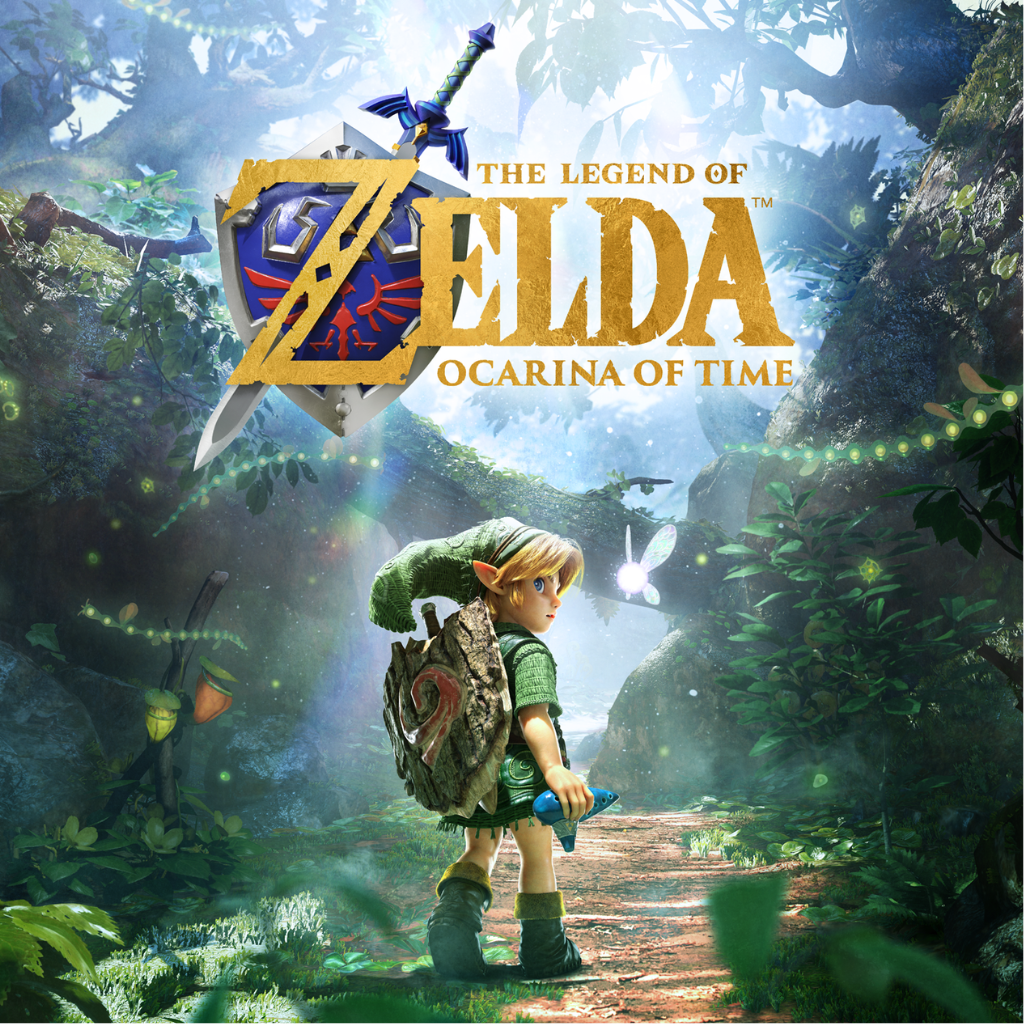
Welcome to IGN's Guide to The Legend of Zelda: Ocarina of Time Remake. After 28 years, Ocarina of Time has been fully remade, and while much of it remains the same, there's plenty of new differences to be found while exploring Hyrule. With the Zora people saved and the Water Medallion secured, Link will have to face a new threat emerging from the depths below Kakariko Village.
Though the ominous Shadow Temple is Link's next objective, getting in won't be possible with Link's current tools, and will require a trip to the Bottom of the Well below the village to find special Lenses of Truth to find the way that has been hidden from view.
After completing the Water Temple, looking back into Hyrule Field will reveal an ominous sight: smoke and fire rising in the direction of Kakariko Village!
Race over across the field on Epona and enter the village. You'll find Sheik alone, standing before the town's well. Before you can act, a creature born of darkness will emerge, knocking Link out and escaping into the nearby Shadow Temple.
When Link awakens, Sheik will tell of how the creature that Impa had sealed away beneath the well long ago had broken, and how Impa left to investigate the Shadow Temple herself, leaving Sheik behind to protect the village. To reach the temple and aid Impa, you'll be given a new melody to learn:
Repeat the prompt to learn the somber Nocturne of Shadow, which can teleport you to an otherwise inaccessible part of the Graveyard behind Kakariko Village. You'll also be given a warning: the temple has many traps to repel intruders that can only be seen with the Eyes of Truth, but Sheik has no idea where to find such a device.
Sure enough, if you try to enter the Shadow Temple yourself, you'll be met with a sealed door and a strange plaque in front of an otherwise empty room.
Instead, be sure to speak with the townsfolk of Kakariko Village after the danger has passed. The old man in particular has an interesting story about a person who lived in the village who had "eyes of truth". Their house stood where the well does today.
If you try to hop down, you'll find a sealed door at the bottom of the well, but there's a small crawlspace too tiny for Link to fit in as an adult, so it's time to take a trip to the past.
Before you do, there's a neat little hidden treasure you can pick up. Latch onto a bit of vines on the low rooftop of Granny's Potion Shop, and look up at the windmill. There's a high opening with a ladder leading to a broken walkway, and you can actually use the Longshot to zip over to the ladder directly.
You can climb up to the top of the Windmill building this way, where you can find a Treasure Chest with a Purple Rupee!
Warp back to the Temple of Time, and return the Master Sword to become a kid again. As a child, the well is still full of water, but if you remember the words from the Music Man in the Windmill when you learned the Song of Storms as an adult, one day a kid appeared and played that song, causing the windmill to spin out of control and drain all the well's water.
It's time to make that paradox a reality. Enter the Windmill and play the Song of Storms for the Music Man, becoming a self-fulfilling prophecy. The well water will drain, allowing you to enter a mini-dungeon much like the Ice Cavern, but even more dangerous given you're still a child.
You'll find this little dungeon to be a lot more open-ended than the Ice Cavern. In fact, there's nothing stopping you from grabbing the most important item in here and then waltzing out without exploring the rest of the place, but since we love to be thorough, we'll touch upon every optional chest and collectible you can find in here. That said, due to the danger of invisible traps, we still highly recommend getting the Lenses of Truth first, and then exploring the rest of this area.
When you first enter the Bottom of the Well, you'll head through a few narrow corridors guarded by Skulltulas. This leads to blank wall with a plaque reading "A wall is not merely a wall. Do not accept only what you see as truth." This will be a recurring theme of this place, and applies to floors as well as walls, so be careful!
Take a leap of faith and move straight into the wall to find its only an illusion. This takes you to a large chamber that makes up the bulk of this mini-dungeon: four long corridors in a square that wrap around a large enclosed room, with a few hallways off to the sides and a larger main corridor leading north.
A large and imposing Green Bubble haunts the four corridors flying in counter-clockwise path. He's impervious to damage while the green flames spread around him, but those flames dissipate whenever he rounds a corner, and in the moments it takes for the Green Bubble to pick up speed again, you can run up from behind and get some hits in. Ambush the monster a few times and you'll be able to take him out permanently, making exploration a bit easier.
Most of the corridors are filled with water, and you can try swimming up, or you can cross the moat to the large central room and find another invisible entrance here, but we recommend avoiding it for the moment. This is because it's full of hidden pitfalls (and a Wallmaster), and there's also a few hiding along the corridors, more notably up in the northeast corner.
There's a large chance that one way or another, you're likely to fall in this pit leading down to B2 early, and it takes a little effort to get back out. Each of the multiple pitfalls all lead back to a large waterlogged area that is full of ReDeads! Even worse, you can't get out through the main exit without finding five Silver Rupees that have been stashed all over the basement.
You'll likely need to start by using the Sun's Song to immobilize and defeat the the two ReDeads down here, as you won't want to be dealing with them every time you fall.
The first two silver Rupees can be found across a series of narrow plants floating in greeze ooze that will damage you if you step in it, so move carefully.
The next two silver Rupees are found close by, one in a pool of water to the northwest, and a second on a dry path in front of some boulders to the north.
Each of the "tendrils" of the basement layout lead to boulders and a pool of water you can fall into from above, but there are several pots full of items by each pool, giving you plenty of bombs to blow your way out.
To find the final silver Rupee, bomb the boulders in the southeastern corner past the green pit. There's more green ooze beyond by the last silver Rupee, which is guarded by one more ReDead sitting in front of a Treasure Chest holding the Dungeon Map!
Now that you have both a map and a way out, head through the unlocked gate to the south to find a ladder you can climb up to a room on the western side of the dungeon.
As it leads back into the main corridors, head to the northern side, where you'll find a series of fountainheads feeding the waterways of this dungeon. In front of the largest fountainhead is the symbol of the Triforce, denoting the Royal Family's seal. Play Zelda's Lullaby here, and the fountains will all cease, lowering the water around the main corridors, and opening up a new area to the north.
Crawl through the tunnel, and defeat the Skulltula in the corridor beyond to enter a room with a small chest at the end. Before you can reach it, you'll fall into a pit leading to a different part of the basement where the boss of this mini-dungeon lies in wait.
Aptly named Dead Hand, the fight will begin with a long and gross looking hand emerging from the ground. The second it can lunge forward and grab you, the true monster will emerge to claim its prey.
The full Dead Hand monster is terrifying to behold, but steel your courage. It will angle its long neck upward as it approaches, and only lower when its ready to take a bite out of its supposed victim. This is your moment to thrash out of the hand's grasp, and then attack Dead Hand full in the face, as it won't take damage anywhere else!
Dead Hand will continue to chase you, lowering its head and giving you a moment to slash at it, but you should soon jump away to the side to avoid its bite and repeat the process. After taking a bit of damage, Dead Hand will turn its back to you and scurry away before burrowing into the ground.
At this point, more and more hands will begin appearing out of the ground all over the arena. This means more chances to get grabbed at all angles, but also more ways to lure Dead Hand from his hiding spot. The only bad news is that struggling in the hand's grasp will slowly eat away at your life.
Keep luring Dead Hand out from his burrowing and waiting until he lowers his grotesque head to slash it or light it up with Din's Fire, and the monstrosity will soon fall. In his place, he'll leave behind this dungeon's treasure: The Lenses of Truth!
With this Sheikah technology, you'll be able to equip it like a mask to the D-Pad Up, and see the unseen. Illusory walls will fade away, invisible pits will reveal themselves, and even special enemies or treasure chests not normally visible can be found! However, using them will slowly use up your Magic Meter, so try not to have them running at all times.
Try it out by looking to the south edge of the pit, and you'll find a hidden ladder you can take back up to the floor above. This corridor has several more hidden alcoves that the Lenses will reveal, and you can help yourself to the pots within. This path exits out onto a hidden ledge above the corridor you entered earlier.
If you look around on top of the mesh platform using the Lenses of Truth, you can find a small Treasure Chest here with a Purple Rupee!
Be sure to also return to the small Treasure Chest that lured you into Dead Hand's lair -- you can now jump over the pit using the Lenses, and help yourself to a Business Scrub Seed.
To help uncover the rest of the hidden treasure of this place, return back to the area with the four corridors past the fountainheads, and use the Lenses of Truth to find a new opening into the large central enclosed room.
Keep your Lenses on, and you'll find many pits here, including around the torture rack in the center, and in the two cells around the south side, with a giant gap blocking access to the large Treasure Chest. Grab the other small Treasure Chest holding a Blue Rupee (guarded by a Skulltula), and then look behind the larger chest to the west.
There's an opening behind it you can only see with the Lenses on, so head back out into the western corridor, and jump through from the mesh platforms to reach the Compass!
There's plenty more goodies to uncover, and a few Gold Skulltulas as well, so let's knock them out one by one.
In the bottom southwest corner of the corridors, there's a hidden ledge leading into a small path to a Deku Business Scrub. He helpfully sells Green Potions (once you beat him up), which can help for prolonged use of the Lenses.
Off to the top northwest, there's another small alcove guarded by Skulltula. Defeat it and use the Lenses to avoid the pits here leading to a small Treasure Chest holding a Red Rupee.
Make your way over to the northeast corner on the opposite side, using the Lenses around a plaque to avoid falling in pits by the door to the east.
In here, there are several Fire Keese you need to be way of along with a Beamos, and a small Treasure Chest in the corner holds some Bombs, but there are many pits in this room you'll need to avoid.
Defeat the group and head into the room to the south. You'll be faced with a Like Like in this brightly-lit room -- be sure to keep your distance and use your Boomerang first to stun it so you can get close enough to attack before retreating again.
Once you've defeated the Like Like in the eastern room of the dungeon, look up on the wall between two torches, and you'll find the first of a few Gold Skulltulas hidden here.
By now you've noticed there are two locked rooms in the northern part of the main central enclosed room with the cells. Finding both keys is next up, and you can leave the room with the Like Like by find a ladder leading back into the eastern corridor.
As you drop down, look into the now dried up waterways below the grating to find a small Treasure Chest holding a Blue Rupee.
While down in the lower part of the waterways, head along the southern corridor, and look for a small drain opening along the bottom of the southwest side. You can crawl through here to find another small Treasure Chest with another Blue Rupee.
Exit out and climb back onto the higher platforms circling the corridors, and head to the east side of the southern corridor while looking north with your Lenses. To the left of the entrance to the central room, there's a small opening in the wall you can leap across to find a small Treasure Chest with a Red Rupee.
There's another identical hiding spot if you head to the southeast corner of the corridors, and use the Lenses here to look toward the central room. Look for the opening to jump through, and this small Treasure Chest hold the first of two Small Keys.
Now with one key in hand, jump back into the central room, and open the locked door in the northeast corner. There's a pit-like room here with few Keese darting about, but you can use your Lenses of Truth to reveal a path around the outer edge, leading to one more Gold Skulltula!
For the other small key, you'll need to head to the only other unexplored area on the west side of the dungeon (Look for a hole from the central room that you can jump across the drained corridor). Where there was once a large flooded pit under a large gate, you'll find that enough water has been drained to dive down and swim to the other side and climb up the mesh walls.
In this last room, you'll find it full of coffins covered in webbing, with several lit torches all around. Each coffin holds something... not all of them good, and you can use a Deku Stick (or Din's Fire) to set the cobwebs ablaze, and find Keese and pots in many, as well a Gibdos. These mummies are like stronger ReDeads, and are fairly resilient, though you can burn them bad with Din's Fire.
Be wary, as the coffins on the north side of the room are hiding another Gibdo, but you can also find Fairy Thoughts in the other coffin, which asks for you to play the song about "going around" Play the Song of Storms, and you can get healed by Fairy Power!
Finally, burn away the lone coffin on the eastern side to find the last remaining Small Key.
Now with the final key, return back across to the central room, this time opening the final locked door in the northwest corner. This small mausoleum room is guarded by a Deku Baba, and in the corner you'll find the last Gold Skulltula to defeat.
You're officially done with the creepy Bottom of the Well, which means it's time to pick up where you left off as an adult.
Before you take back the Master Sword, there's one big thing you can abuse with the Lenses of Truth to get a nice reward. The Treasure Chest Minigame house in Hyrule Castle Town is only open at night, and for 10 Rupees you can try to pick between two chests - one has a small rupee reward, the other a key to move deeper into the rooms for better prizes.
While you can technically win by luck, you now have a pretty definitive edge to win the grand prize easily: Simply wear the Lenses of Truth in each room, and you can see the contents of the chest before you open it. Pick the Small Key every time, and you can make it all the way to the end to earn a Piece of Heart!
When you're ready to proceed, take up the Master Sword to take the Lenses of Truth with you into the future, and warp back to Kakariko Village's Graveyard to enter the dreaded Shadow Temple .
Up Next: Shadow Temple Dungeon Walkthrough
Topics in this story
Gathered from external sources. Rights to this text belong to whoever originally published it.