Notre-Dame - Finding the Shadow Walkthrough - Castlevania: Belmont's Curse Guide - IGN
This is a continuation of IGN's walkthrough for Castlevania: Belmont's Curse. In this section, we'll be focusing on the Notre-Dame section, an
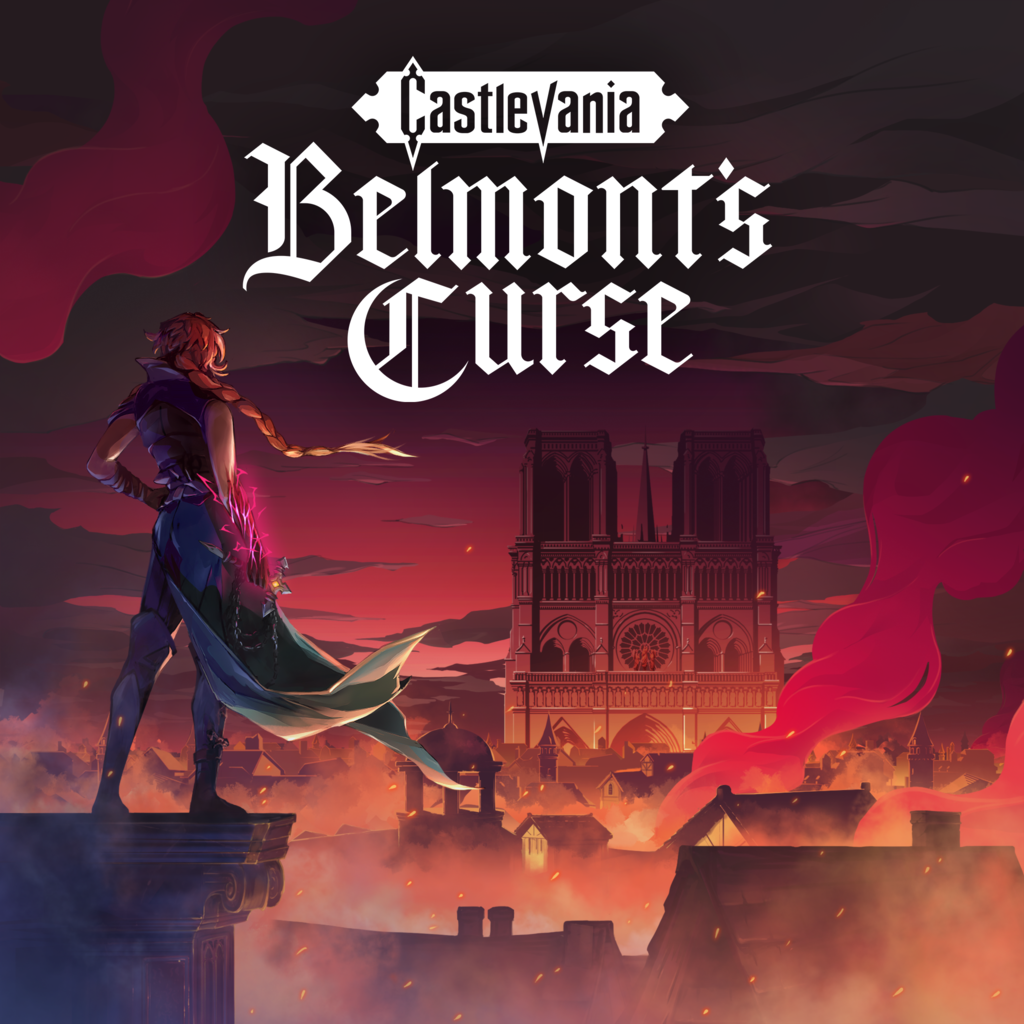
This is a continuation of IGN's walkthrough for Castlevania: Belmont's Curse . In this section, we'll be focusing on the Notre-Dame section, an area you can unlock after defeating the Occultist , Carmilla, and obtaining the Paintbrush from her, which she stole from the Artist . You need to complete the Library to unlock this section and add the Artist to your Tarot cards, whom you can unlock after defeating the Builder in the Clock Tower . You can follow along with this playthrough to review the previous sections here.
We'll be starting this walkthrough at the entrance of the Notre-Dame painting. You can find it in the Main Hall.
From this starting point, head to the right and make your way into the next room. Although there is a pair of knights here, these 'statues' won't move yet. You'll be free to access the glowing door on the right side of the room and advance into the Nave.
Here, you'll encounter a new type of trap. You'll see glowing green runes hanging underneath the spike platforms throughout the room. The glowing rune is a symbol for a musical note, specifically F clef. Expect to see more of these musical notes and symbols throughout your time exploring Notre-Dame, as they're important to the greater mystery in this part of Belmont's Curse. For now, avoid these blasts as they're fired out, and expect to discover more of them as you advance. There are also a pair of knights in this hallway that you'll need to defeat, and one of them is a new type of knight.
This knight has a large shield with a dragon on it. It's similar to the knights with the handaxes. Only it uses the shield to protect itself from your attacks if the shield is facing you. Otherwise, it takes damage normally. Also, if you attempt to use your whip attack on it while its shield is facing you, the end won't attach, and you won't be able to rush toward it.
Once these two knights are defeated, make your way to the right side of the room to advance forward. In the next hallway, you'll find even more runes with the F Clef on them, as they fire out blasts in your pathway. This area is quick to clear as you head through the next glowing doorway.
This brings you to the Transept, where a trio of different colored runes is blocking your path forward. The first is the F Clef, the second is an Octave Clef, and the third is the Tenor Clef. You cannot bypass these blasts right now, unfortunately. The only path for you to explore is to go through the glowing section at the entrance and head below.
You'll discover the Notre-Dame Undercroft in this portion, with more runes in your path forward. Continue below, fighting off the floating skulls that appear along the way. When you reach the bottom, there's a doorway to your right that leads to the Mirror of Life for this area. Head inside to activate it, providing you with a suitable place to set a checkpoint should you die or need to fast travel elsewhere.
After unlocking this checkpoint, return to the room you were just in in the Undercroft. Unfortunately, you can't go through the doors on the left side, as they're blocked by the runes with the beams. However, you can follow the grate down.
Take it, and you'll make your way to the Great Organ Room. When you reach this bottom level, use your Talos Smash by jumping into the air and then slamming down by using your jump button to break through the wall.
This will take you to the proper Great Organ Room, where you'll land on one of the organ tiles. Each tile plays a specific note, with the three Clef symbols in the back that match the rune traps you found when you initially arrived in Notre-Dame. There are three rows of runes with the F Clef patterns on them, preventing you from moving forward to the right, forcing you to follow down the left path.
You won't have to go far. When you reach the end of this path, there's a wall that you can break to find a hidden area. In this hidden area is an interactable in the middle that reads, "Beneath these stairs lies our order's greatest sin." It's a hint that you can find something under the stairs, but it does not share how you get to it. The spirit at the end of the dead end, though, is much more important.
They have a Clue for you surrounding the Shadow that says you must find the melodies of the Music Masters of Notre-Dame to clear the corruption. It provides you with the first melody sheet, which you're going to need.
Head back to the Great Organ Room and play out the pattern you found on the melody sheet. You'll be able to do this by hitting them in the correct order. There are 14 different notes on this organ. Numbering them left to right, hit notes 8, 7, 8 again, 6, and then 5 .
You'll know you've done this correctly when the F Clef organ in the blast disappears, and the glowing symbols to your right lower, allowing you to proceed to the next area. Make your way to the right, and you'll enter the Collapsed Crypt.
You'll encounter a pair of archers, a gargoyle, and a consistently respawning floating skull in this room. After dispatching them, make your way up the platform and open the door. Advance through the hallway, and you'll have a choice to go up or further to the right.
Before going to the right, take the path up, and you'll proceed to the Path of the Penitent. Use your wall-leap to reach the top, and open the door leading to the pathway on the left. You'll connect the Notre-Dame Undercroft Mirror of Life with this path, allowing you to quickly retrace your steps without taking any alternative routes.
Once you bridge this connection, head back down to the Collapsed Crypt and follow the path to the right. However, before doing this, drop down to the first breakable platform and slide to the left. There's a small gap that you can slip through where you'll find a Spirit waiting for you. Speak with the Spirit, and you'll acquire another clue surrounding the Shadow. The Spirit reveals where the Music Masters fled to escape Death.
You can then take the small path to the left and retrace your steps to proceed to the left. Now, there is a series of breakable platforms that you have to cross before you swing to the right, using the yellow anchor in the room. You'll need to dodge the Tenor Clif runes blasting energy while you do this.
After you swing to the right, there's another breakable platform that you have to reach. However, there's also another Tenor Clif rune blasting down from the top, likely preventing you from passing. If you can't go by immediately, use the purple anchor above you to hold this place without falling into the spike pit, and wait for the energy to disappear. You may need to use the Air Dash to reach the other side and the next glowing door. Beware the floating skulls as they appear during this platforming bit!
This next section will take you to the Chapel of Patience. Proceed to the right, and you'll face off against a pair of knights with lances, next to an interactable stone. Read the stone that reads, "Patiens Qvia Aeternvs. Patience is the mother of all Virtue."
As you advance down to the end of this path, unfortunately, you won't be able to go past them because the Octave and Tenor runes are still active. You'll need to complete the two other Music Master melodies to proceed through here.
However, you can go above and use the top section, breaking the runed floor, allow you to bypass the middle section the next time you return.
For now, head up to the top of Chapel of Patience. When you reach the top, there's a section that breaks off, above a lever. Head down and hit the lever, where a pair of knights with dragon shields come to life.
After taking them out, head through the door on the left, and you'll have unlocked a passage with a Relic chest on the far left.
Unlock the chest, and you'll receive Beelzebub's Seal ( Rose deals 30% more damage, but her maximum life is reduced by 50% ).
You can now return to the upper right side that you were taking in the Chapel of Patience, and proceed to the area, bringing you to a section of the Path o the Penitent.
There are a handful of initial enemies for you to fight in this room. You can make short work of them, and there's a lever above you, but you won't be able to access it right now. You can, however, proceed to the left path, which is a tricky puzzle that you have to complete in a limited time (if you want to unlock the weapon).
On the far left side is a trio of beams that fire down the entire hallway. You'll need to wait until they initially fire, and then head down. You'll want to pause at the small gap on the lower section for the beams to fire again (they'll shoot harmlessly above you), before jumping up and reaching the area with the lever.
Now, when you hit the lever, the timer starts. You want to wait until the beams have activated and have gone for a few seconds. Hitting the lever right before they shut off should give you the most amount of time to advance. You can always restart the timer by hitting the lever again. Thankfully, you do respawn right at the lever, but if it's still going when you respawn, I recommend hitting it to reset it and trying again.
When the timer begins, jump down and dive to the section next to the stairs. Crouch down and hold it there, waiting for the beams to fire. When they finish, slide forward and jump up to the top area. Hold on the sides of the wall for the beams to fire, shut off, and then you can proceed forward. Jump through the spikes using your air dash.
When you're through, there will be an area with the abyss shards. You can stand here without taking a hit. Wait for the trio of beams to fire and then shut off before jumping and activating your Halo to pass through.
After making it through the shards, there's a purple anchor above you that you can use, and then slam down onto the breakable floor beneath you, reaching the bottom, where you'll find the weapon chest. You'll be able to unlock the Joyeuse longsword.
You can then make the climb back up to where you smashed through the rocks (potentially grabbing the XP statue in front of where the beams are shooting), and head to the left. Going down this path has you coming across a handful of enemies before you find another smashable ground piece. Use the purple anchor above it to give yourself enough room, and then slam down, bringing you back down the same path you took from the Collapsed Crypt. You want to return to the Notre-Dame Undercroft Mirror of Life.
From there, take the left path and go through the glowing door on the left side, bringing you to the Way of the Confessor.
On this path, you'll need to make your way up (dodging the blasts from the runes) as you reach the top. Unfortunately, the top glowing door is not a viable path right now, forcing you to continue your way down. You'll need to jump down onto the breakable platform, and then air dash across the middle to reach the second breakable platform. From there, jump to the top to reach the other side.
The timing can be tricky here. I recommend dropping down shortly after the side runes fire, allowing you to reach the platform and jump into the air. You should have enough time to air dash across the gap without being hit. It's not the end if you are, but you do start over from this spot if you hit the spikes.
After that, in the next room you'll be ambushed by multiple undead, namely the ranged undead, and a pair of knights, with a large sphere with faces shooting at you. You won't be able to wait for the rune beams in the center to end. Instead, you have to drop down from the grates, air dash above the spikes, and then use the purple anchor to reach the other side. Expect to have to do that often for this fight.
Once you clear this area, proceed to the left and jump across the breakable platforms to the far left side.
Through the glowing door, you'll reach the Tomb of the Chevaliers, underneath the entrance to Notre-Dame you took from the Main Hall.
From this section, you'll be able to use a yellow anchor to swing to the upper part. However, after using the yellow anchor, you might notice it begins to pull down when you use it. If you go back and forth, swinging from it left to right, it begins to lower and eventually opens the path on the bottom left side.
When taking this route, you'll jump from the initial platform and use the purple anchor to launch yourself to the left side (you may need to air dash to cross the spikes). Here, you'll land on a breakable platform. There are three of these platforms on the bottom section, not giving you too much time to remain down here.
You need to wait for the beam to stop firing on the left side so you can grab the purple anchor and swing yourself up. You then need to wait for the beam on the right side to stop firing so you can dash forward, and complete this puzzle.
When you reach the other side, you'll find a Permanent Attack boost, and you can slide beneath the wall on the right side to fight against the skeleton ogre and the undead archer on the upper platform.
Upon defeating this pair of enemies, head to the upper left side (however, you can go through the abyss shards at the top of the room using the yellow anchors to find a pair of XP statues in this area before advancing).
Follow this path up to the top, and you'll return to the left side of the Narthex, your initial starting point in Notre-Dame. However, you're on the left side of this area, and there's a massive crow in the middle of the room. Defeat it, and you can hit the pressure plate on the right side of the wall, opening your path to the left. Before going too far, though, make sure to break the door down at the bottom of this room to connect it to the Notre-Dame painting entrance.
This upper pathway brings you to the Tower Entrance.
Topics in this story
Gathered from external sources. Rights to this text belong to whoever originally published it.